Edit: So I got linked from a lot of places like this and Google Translate is horrible, so I decided to translate it myself.
世界上有二種硬碟:壞掉的硬碟,與將會壞掉的硬碟。三個月前,我手上的二顆舊硬碟被列為前者。上面沒有什麼重要資料,但少了二顆硬碟,很不方便。硬碟就跟醬油一樣,用完了就得出去添購。
There are two kinds of hard drive: broken ones; and will be broken ones. Two of my hard drives were categorized as the latter three months ago. There is nothing important on those, just inconvenient - thou shalt not be short on storage ever.
在科技公司工作的好處是,你身邊永遠有夠強的技客 (geek) 能為你解答任何有關科技的問題;壞處是,他們通常會告訴你:「殺雞焉用牛刀,我這裡有一套全自動系統,從左邊放進活雞,右邊就會出現烤雞。」從添購硬碟變成組裝 FreeNAS 大概就是這麼回事。
An good thing to work in a tech company is you always have geeks know everything, and the bad thing is they tend to provide you with overkill solutions - "I heard you like roasted chicken, I have a system that you just input with hens and you'll get roasted chickens as output." That's probably how it went from simply buying a few drives to a FreeNAS build.
以下為系統諸元:
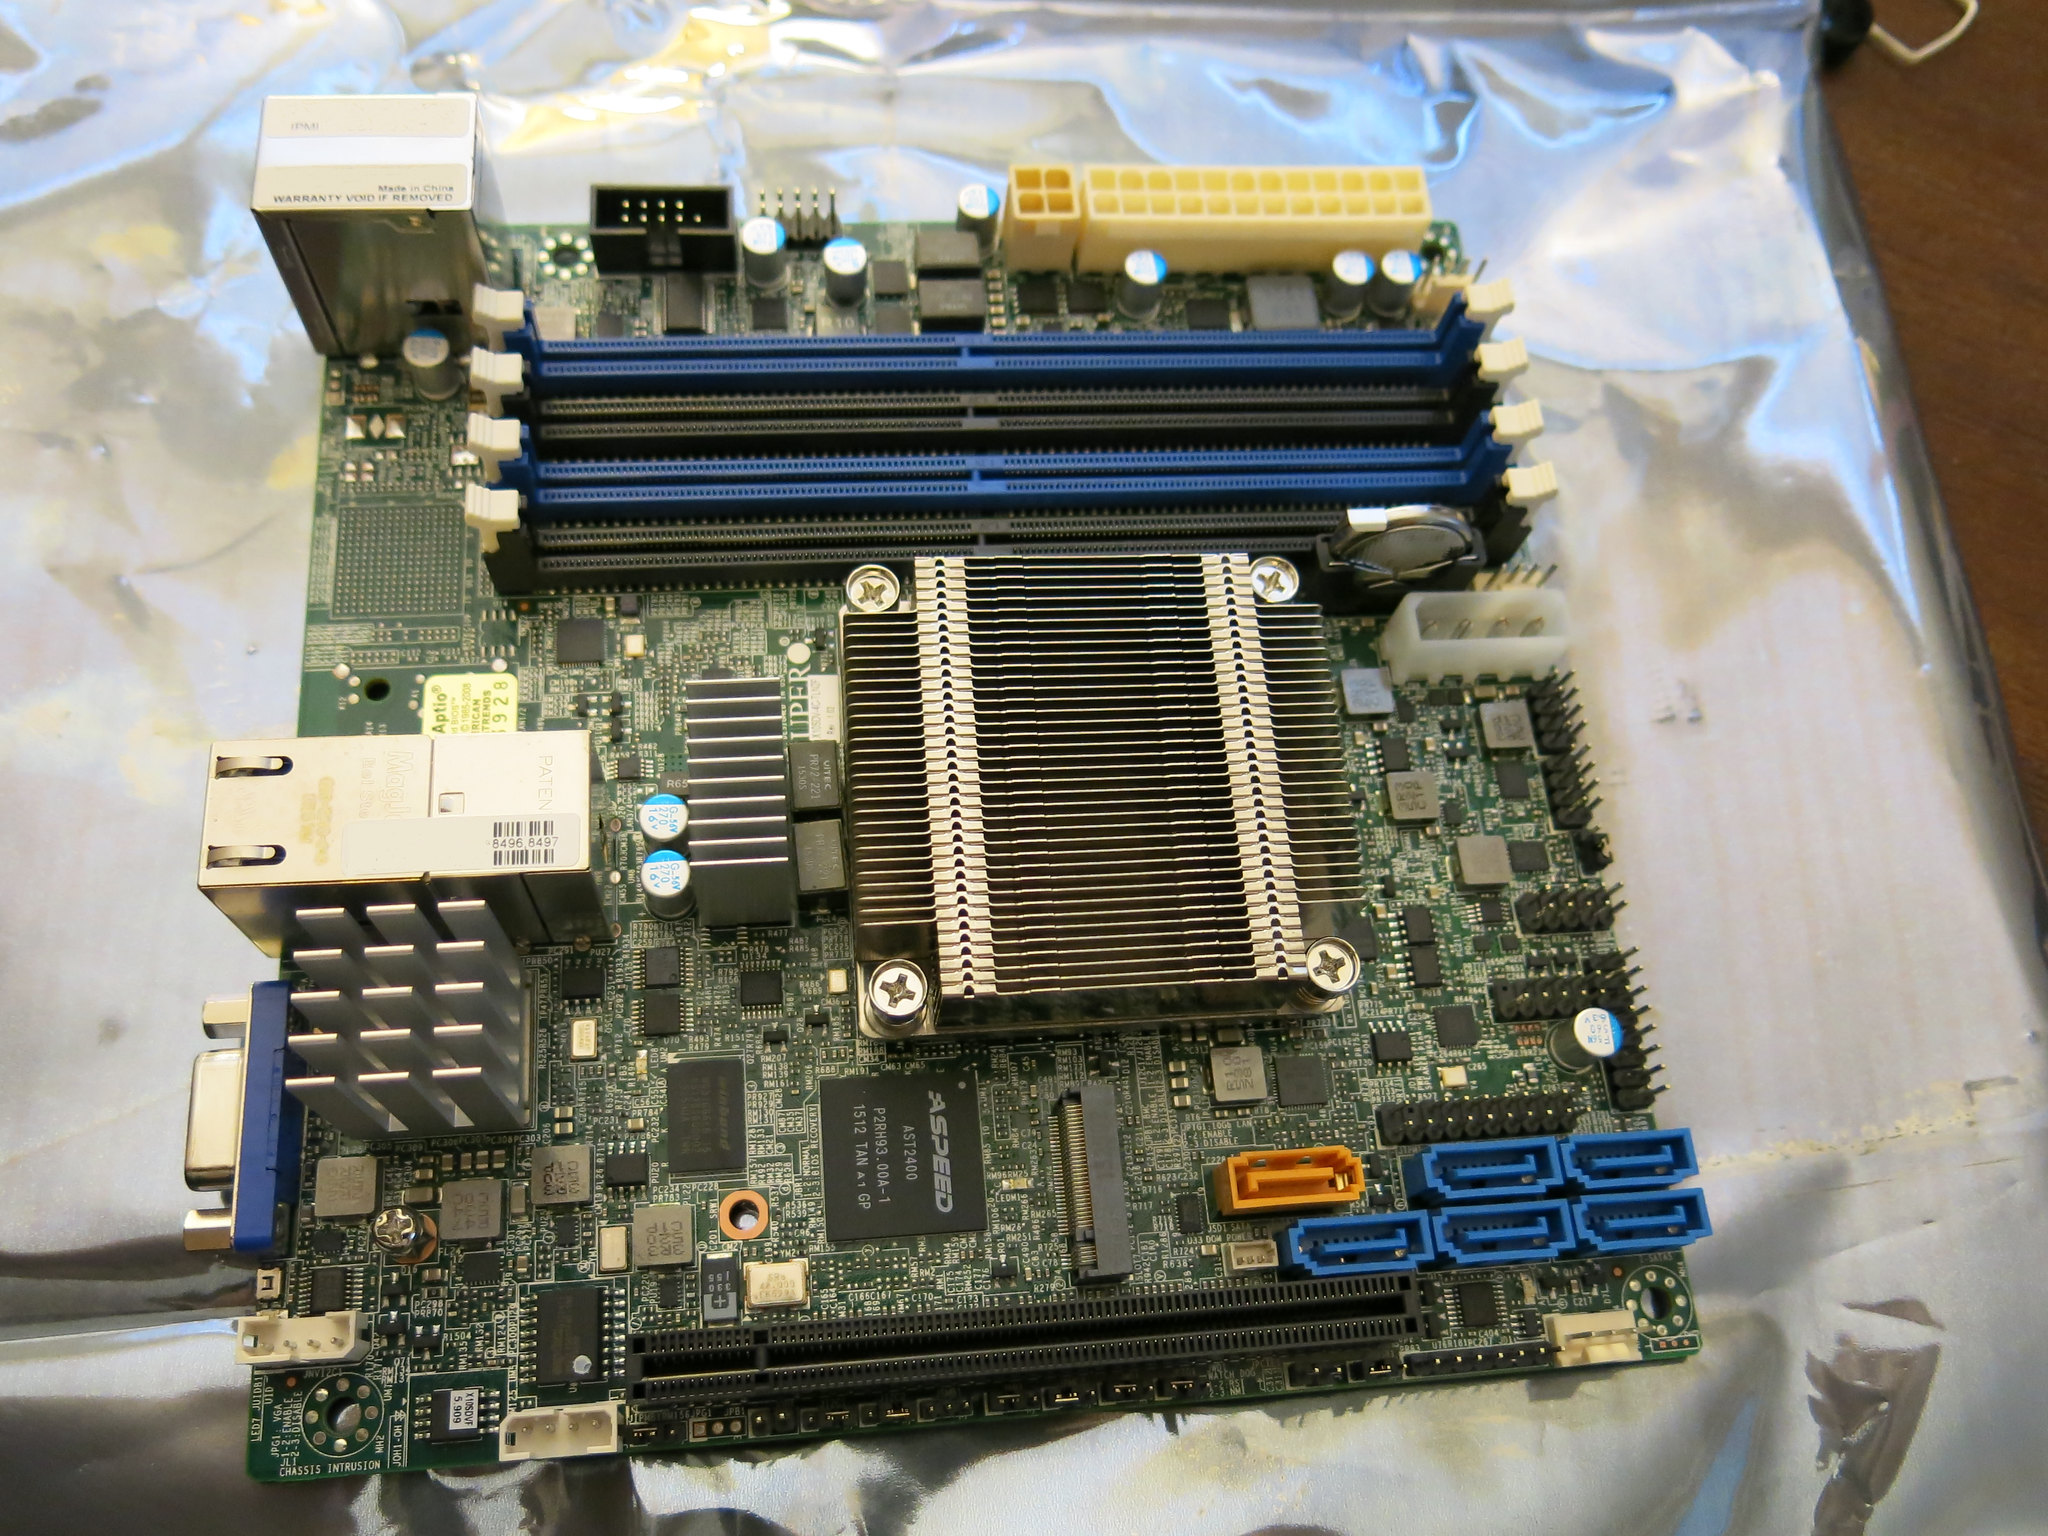
主機板:SuperMicro X10SDV-4C-TLN2F
記憶體:Samsung M393A4K40BB0-CPB 32GB DDR4-2133 x 2
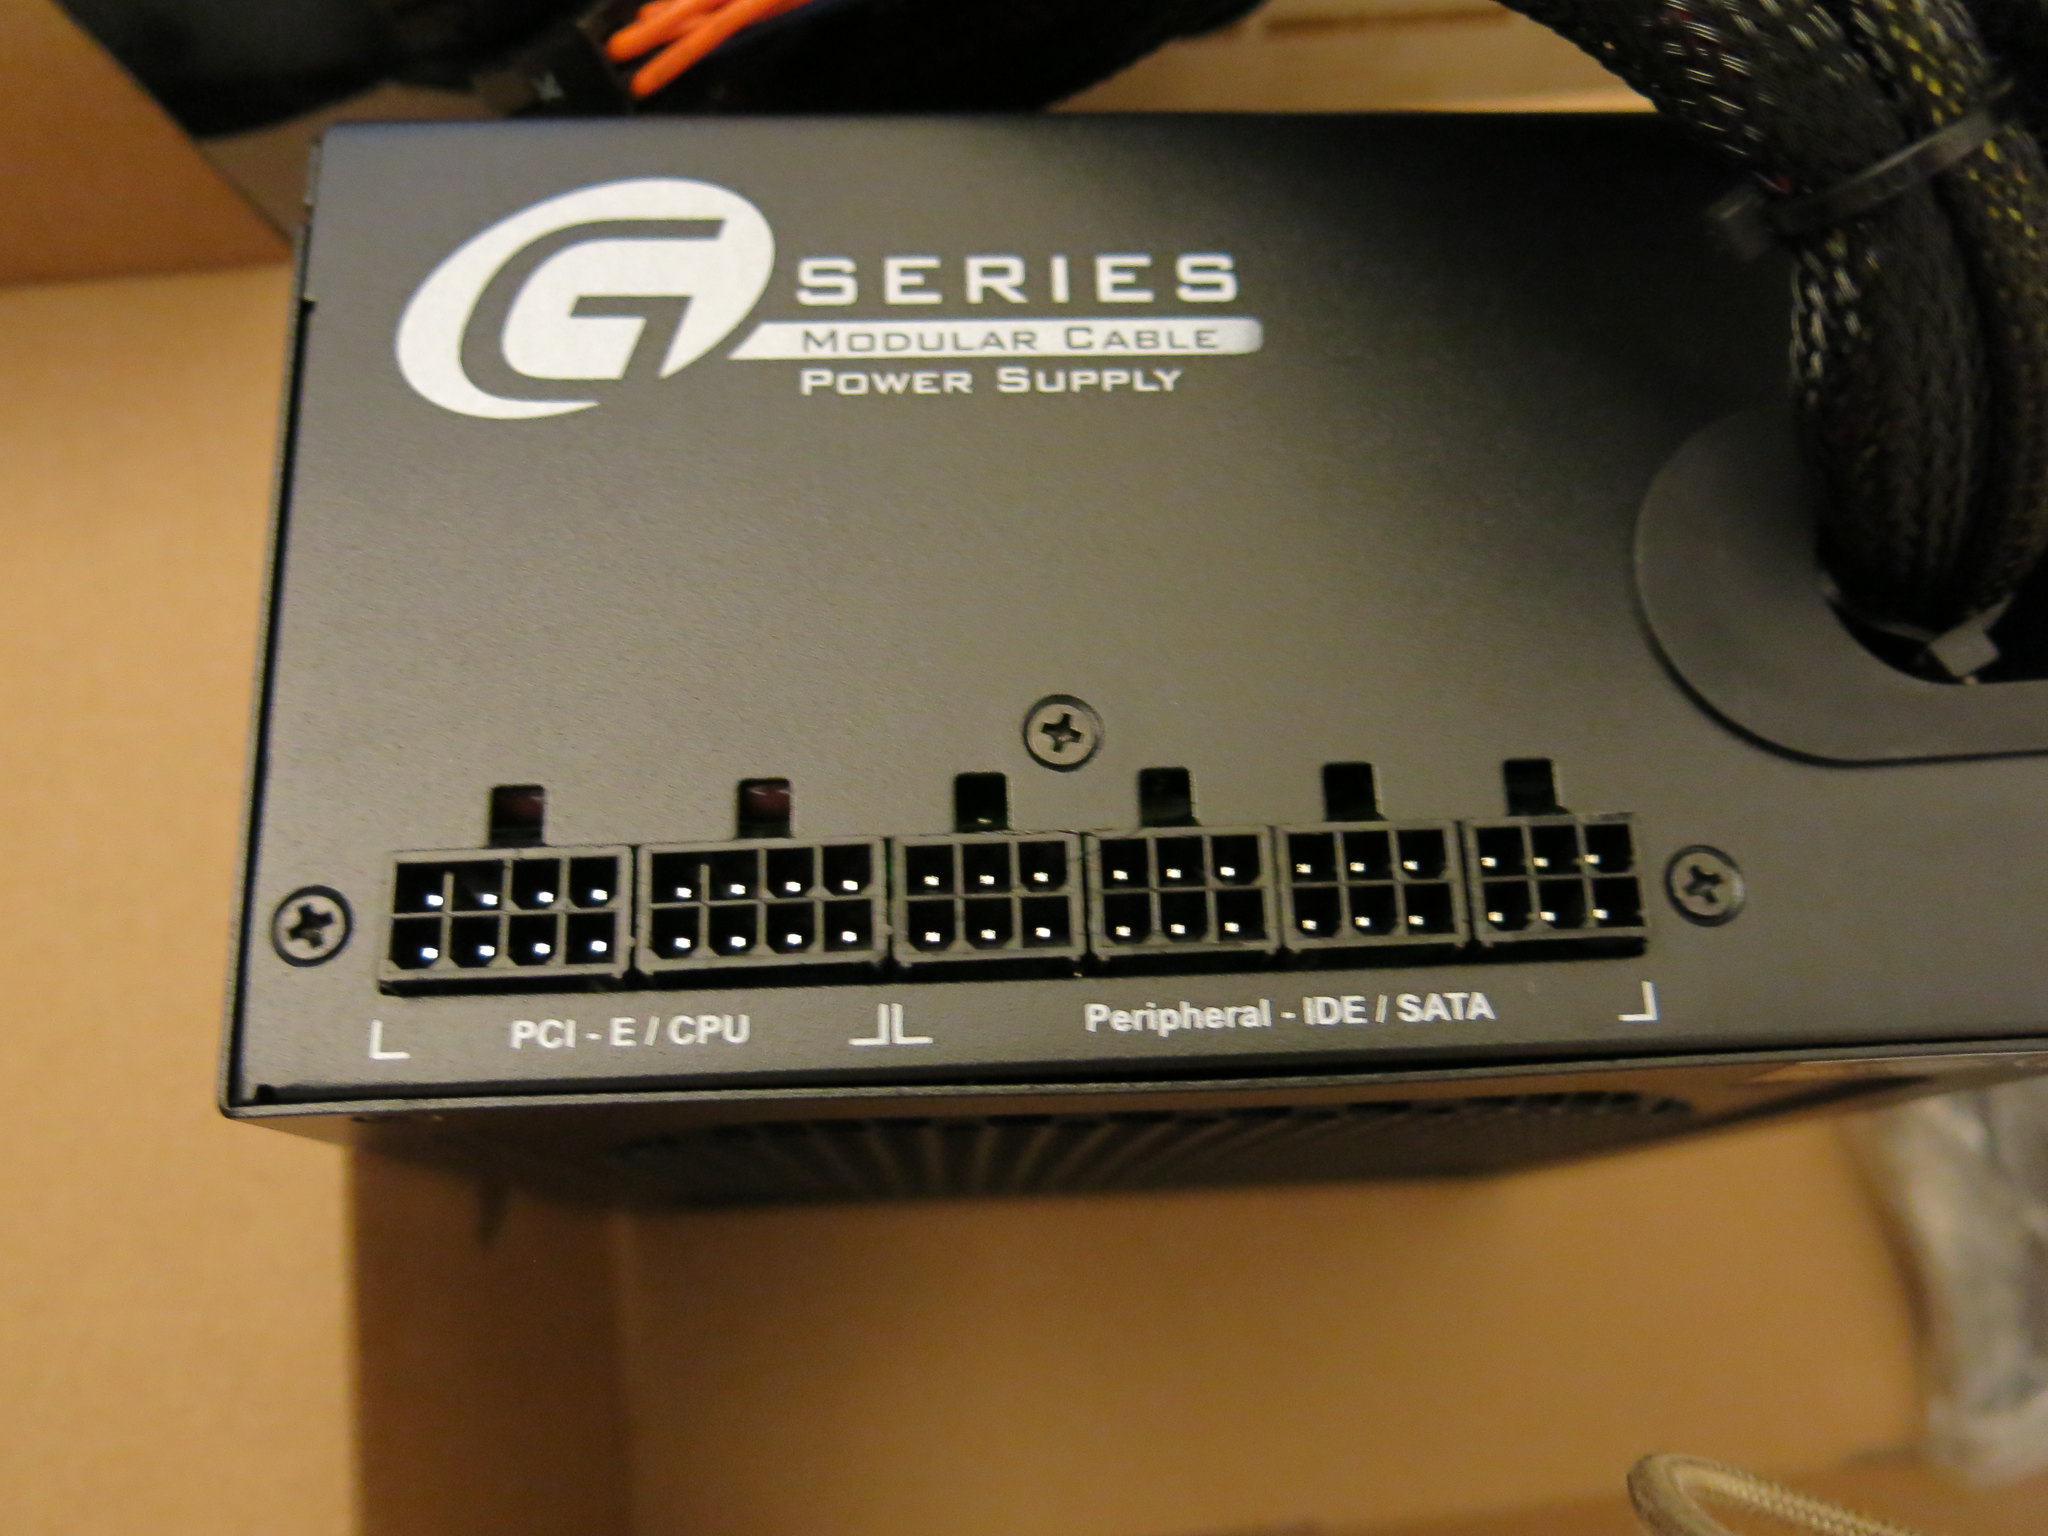
電源:Seasonic 550W G Series
機殼:Fractal Design Node 304
開機碟:Sandisk Cruzer Fit
不含硬碟,空機約台幣三萬五,跟 QNAP 這台差不多同價位。
So above are the specs of my system, those are motherboard, memory, power, case, and boot disk.
About $1150 USD without disks.
本次主角 SuperMicro X10SDV-4C-TLN2F
The motherboard.
The motherboard.
這張板子畢竟不是給一般使用者用的,設計就不要太講究了......
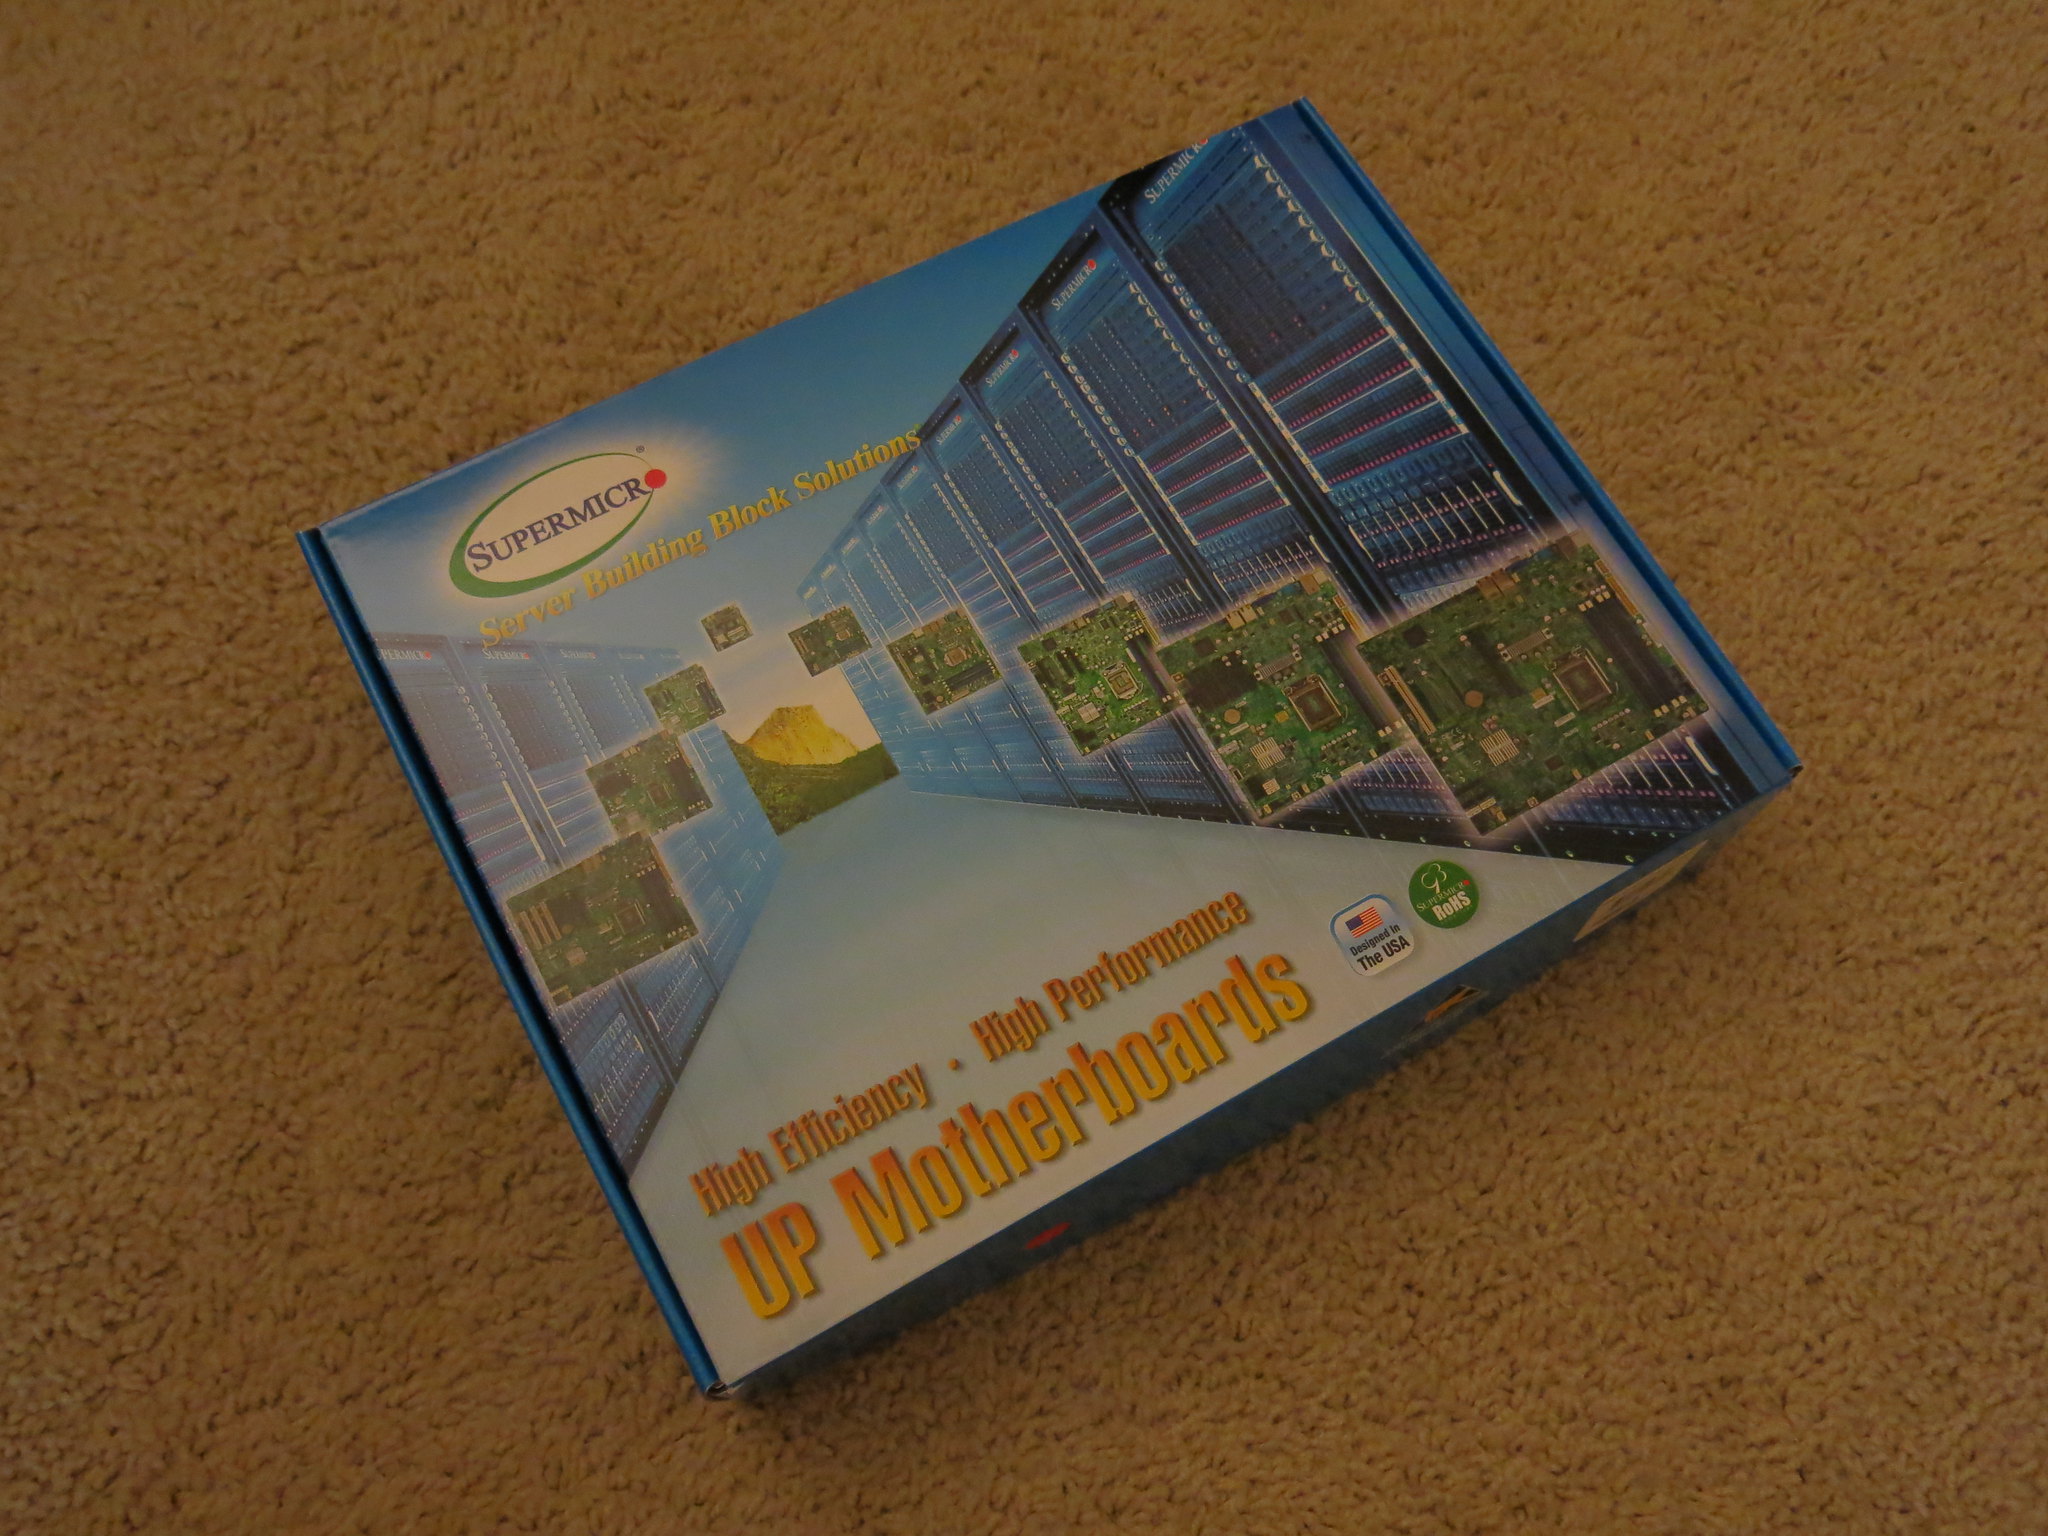
內容物為主機板,六條 SATA 線,一片檔板,說明書與乾燥劑一包:
The box design brought me back to 90s. Ugly AF.
Six SATA3 cables along with the shiny thing, and a quick manual are also included.
The box design brought me back to 90s. Ugly AF.
Six SATA3 cables along with the shiny thing, and a quick manual are also included.

驅動程式與使用者手冊請上官網下載。
Go to Supermicro websites for drivers and full manual.
Go to Supermicro websites for drivers and full manual.
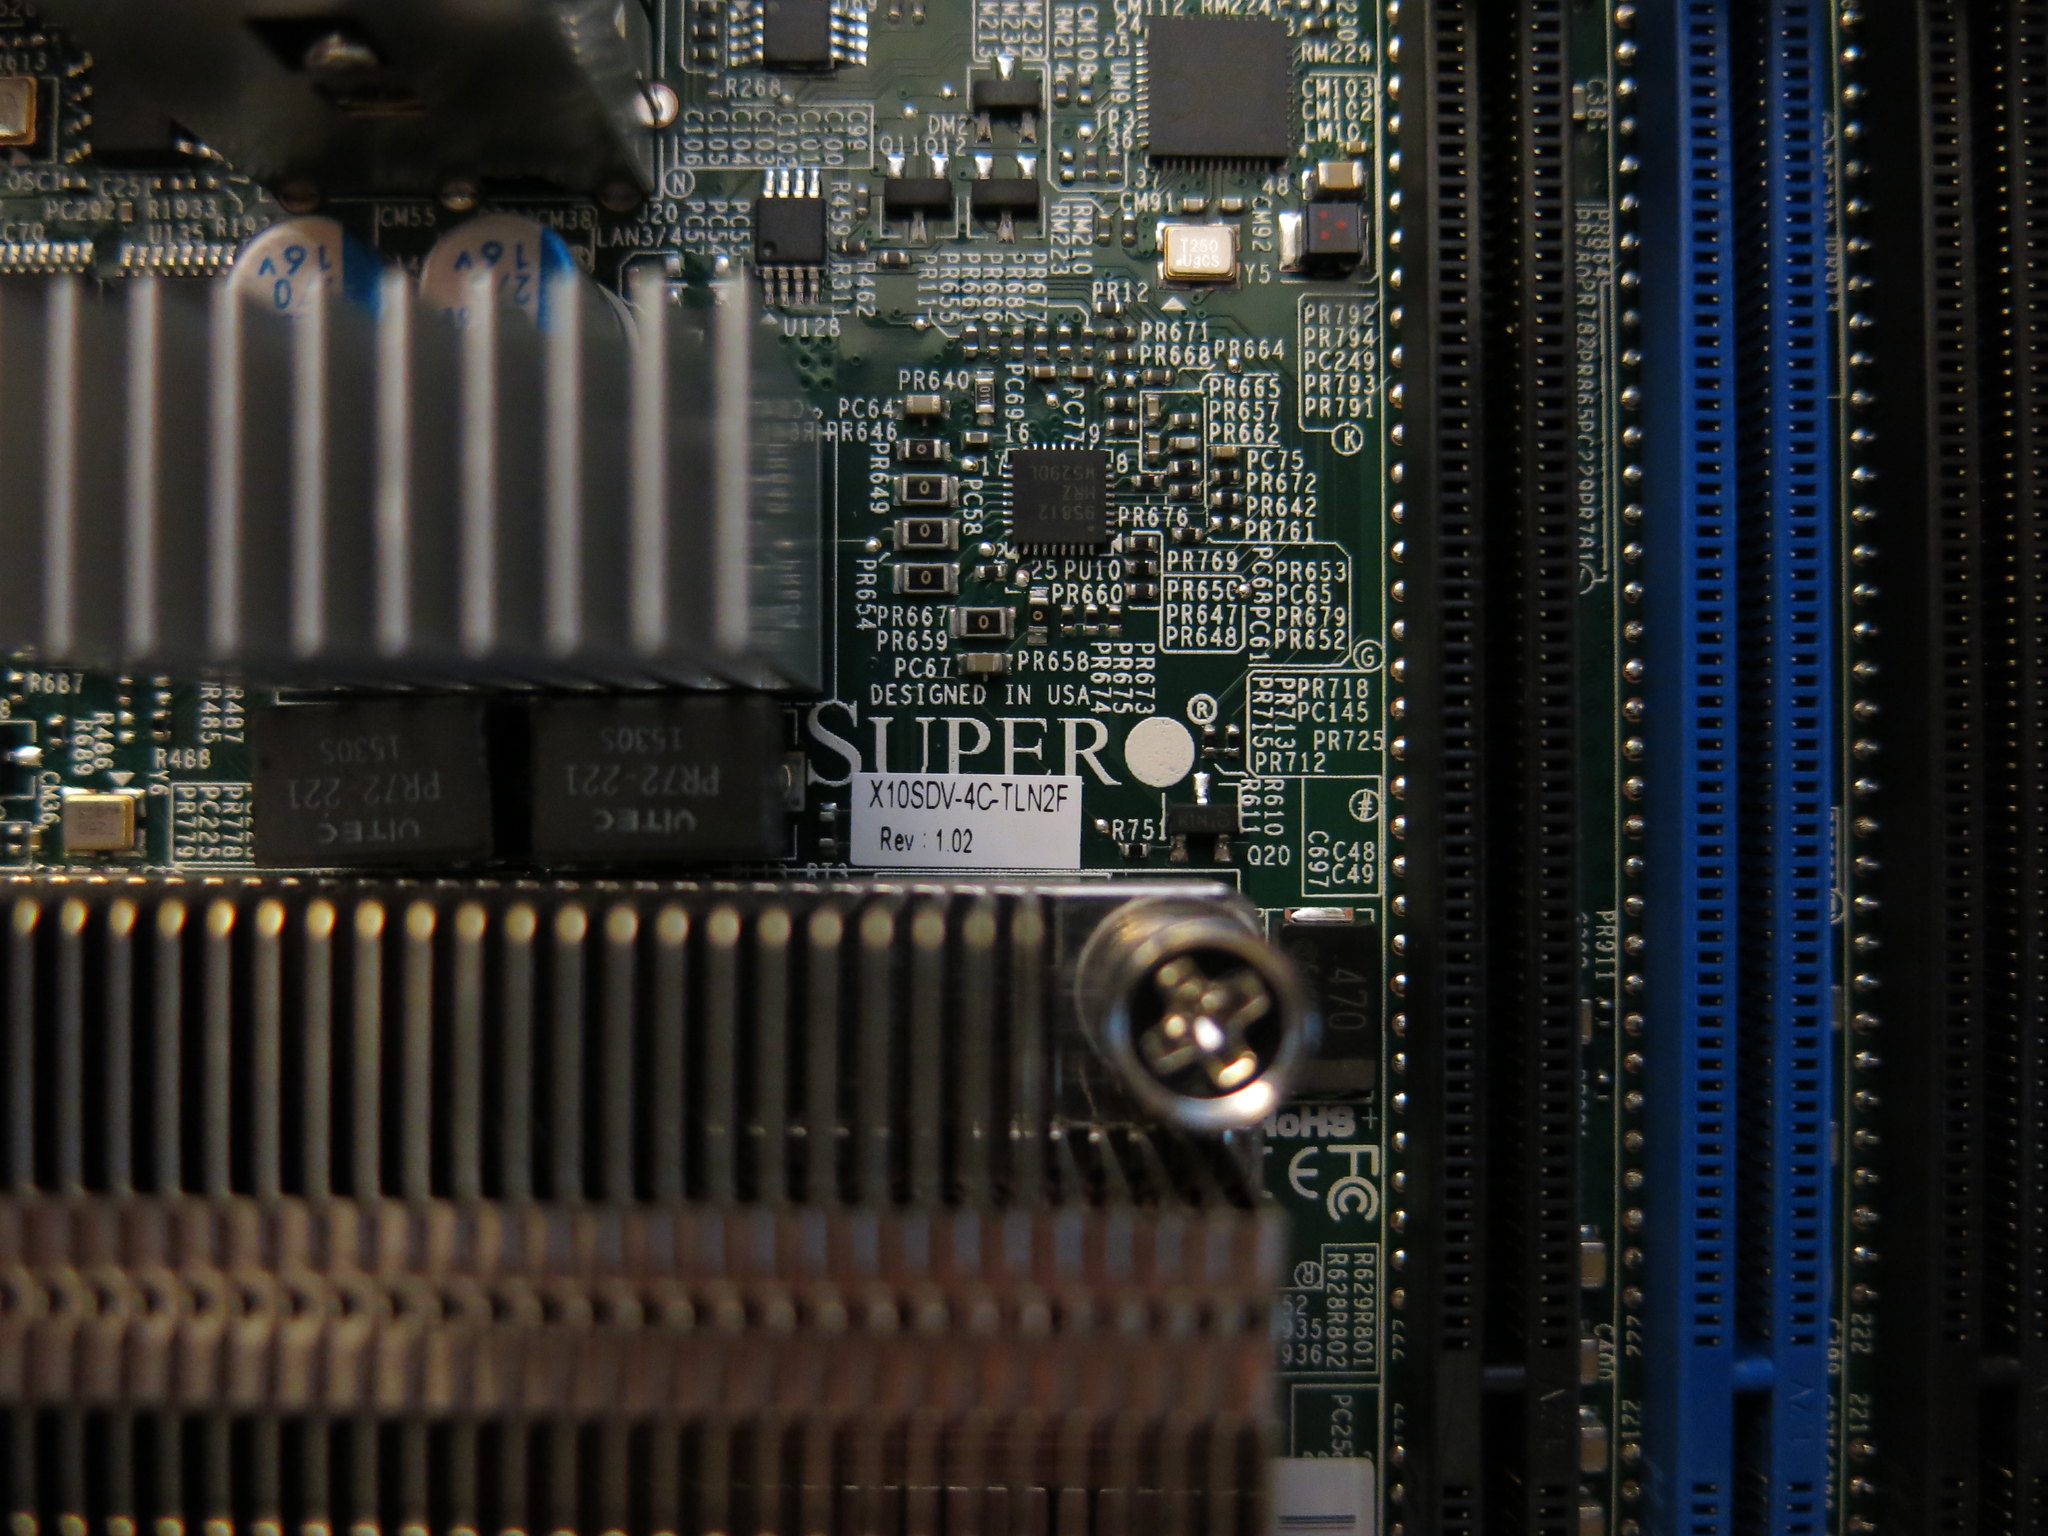
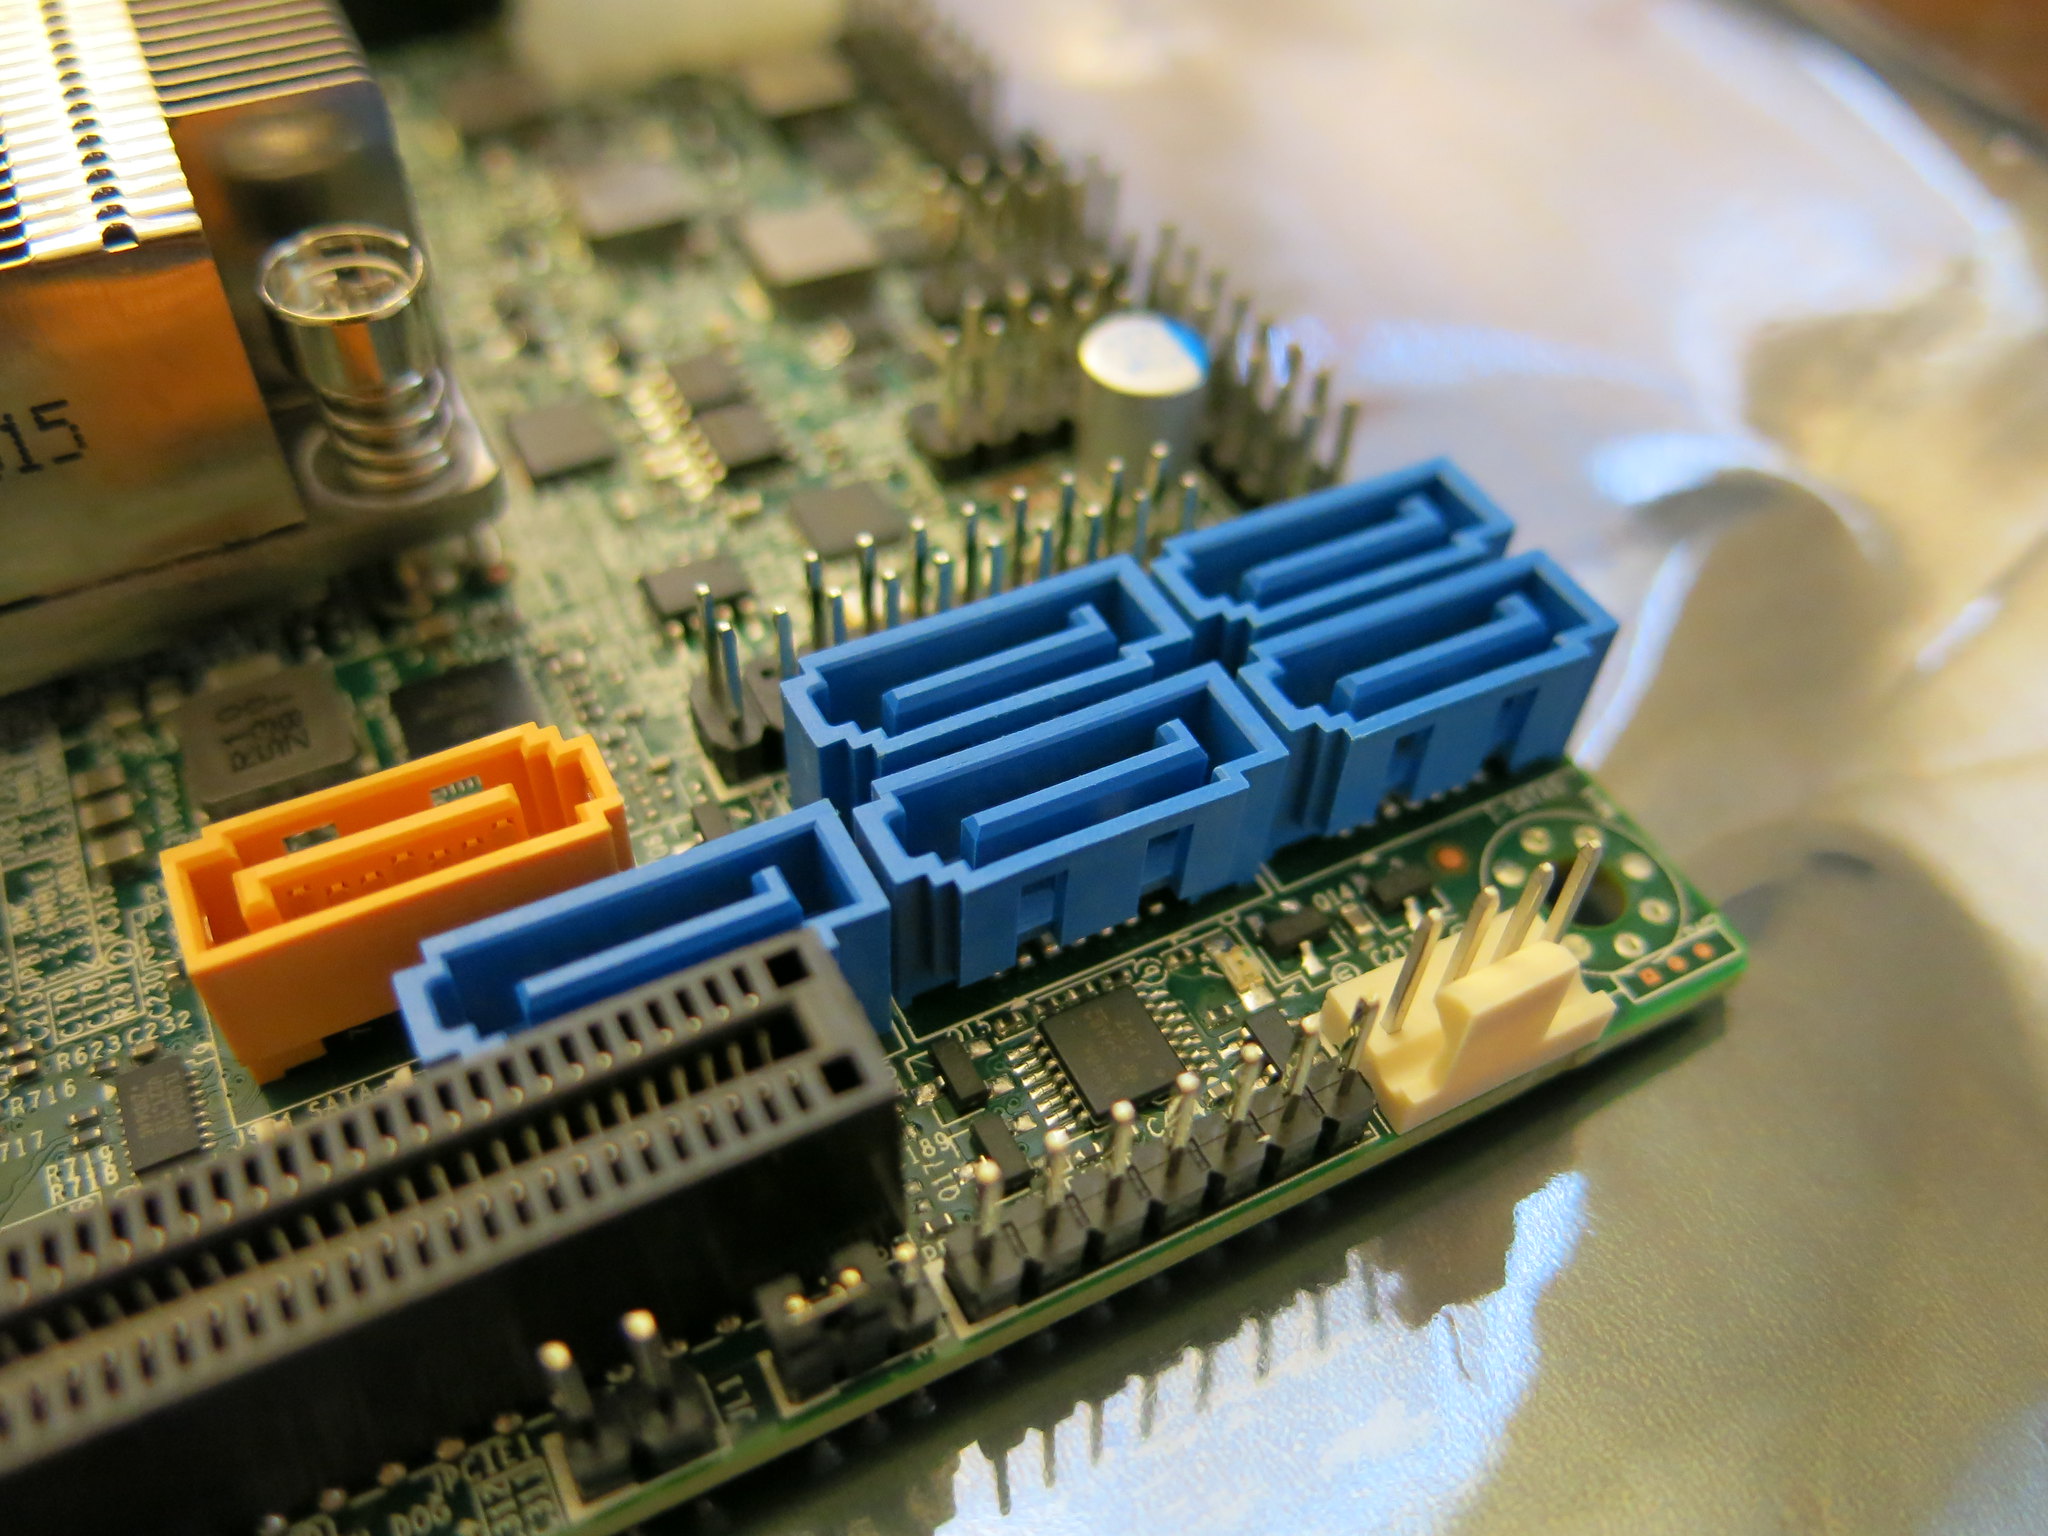
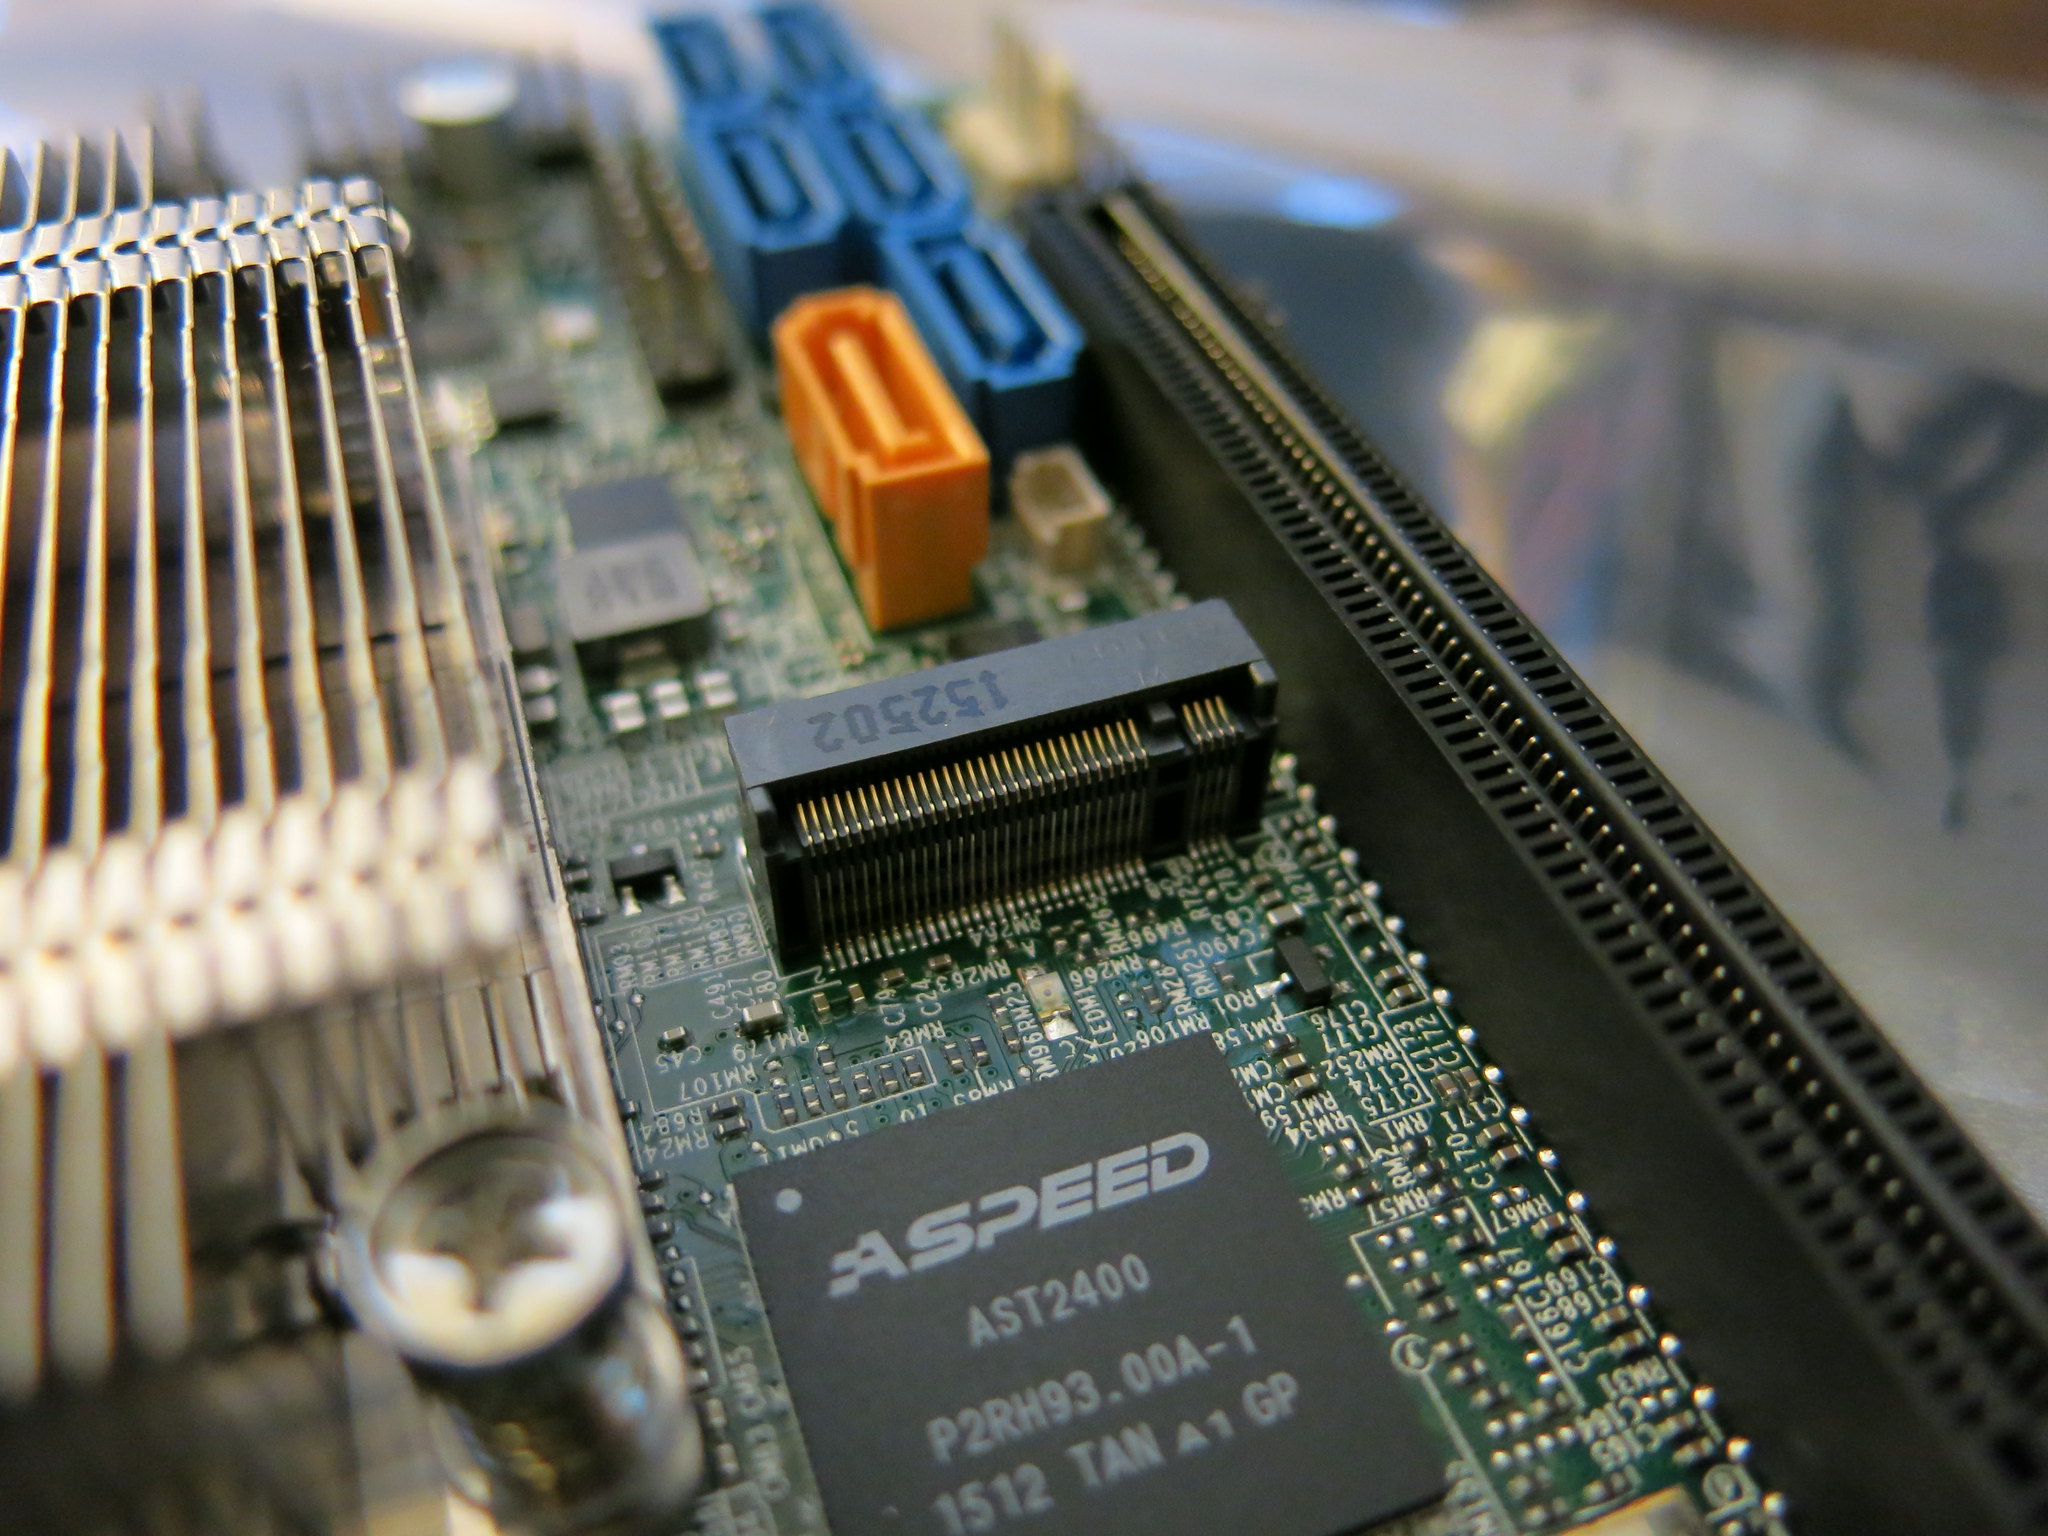
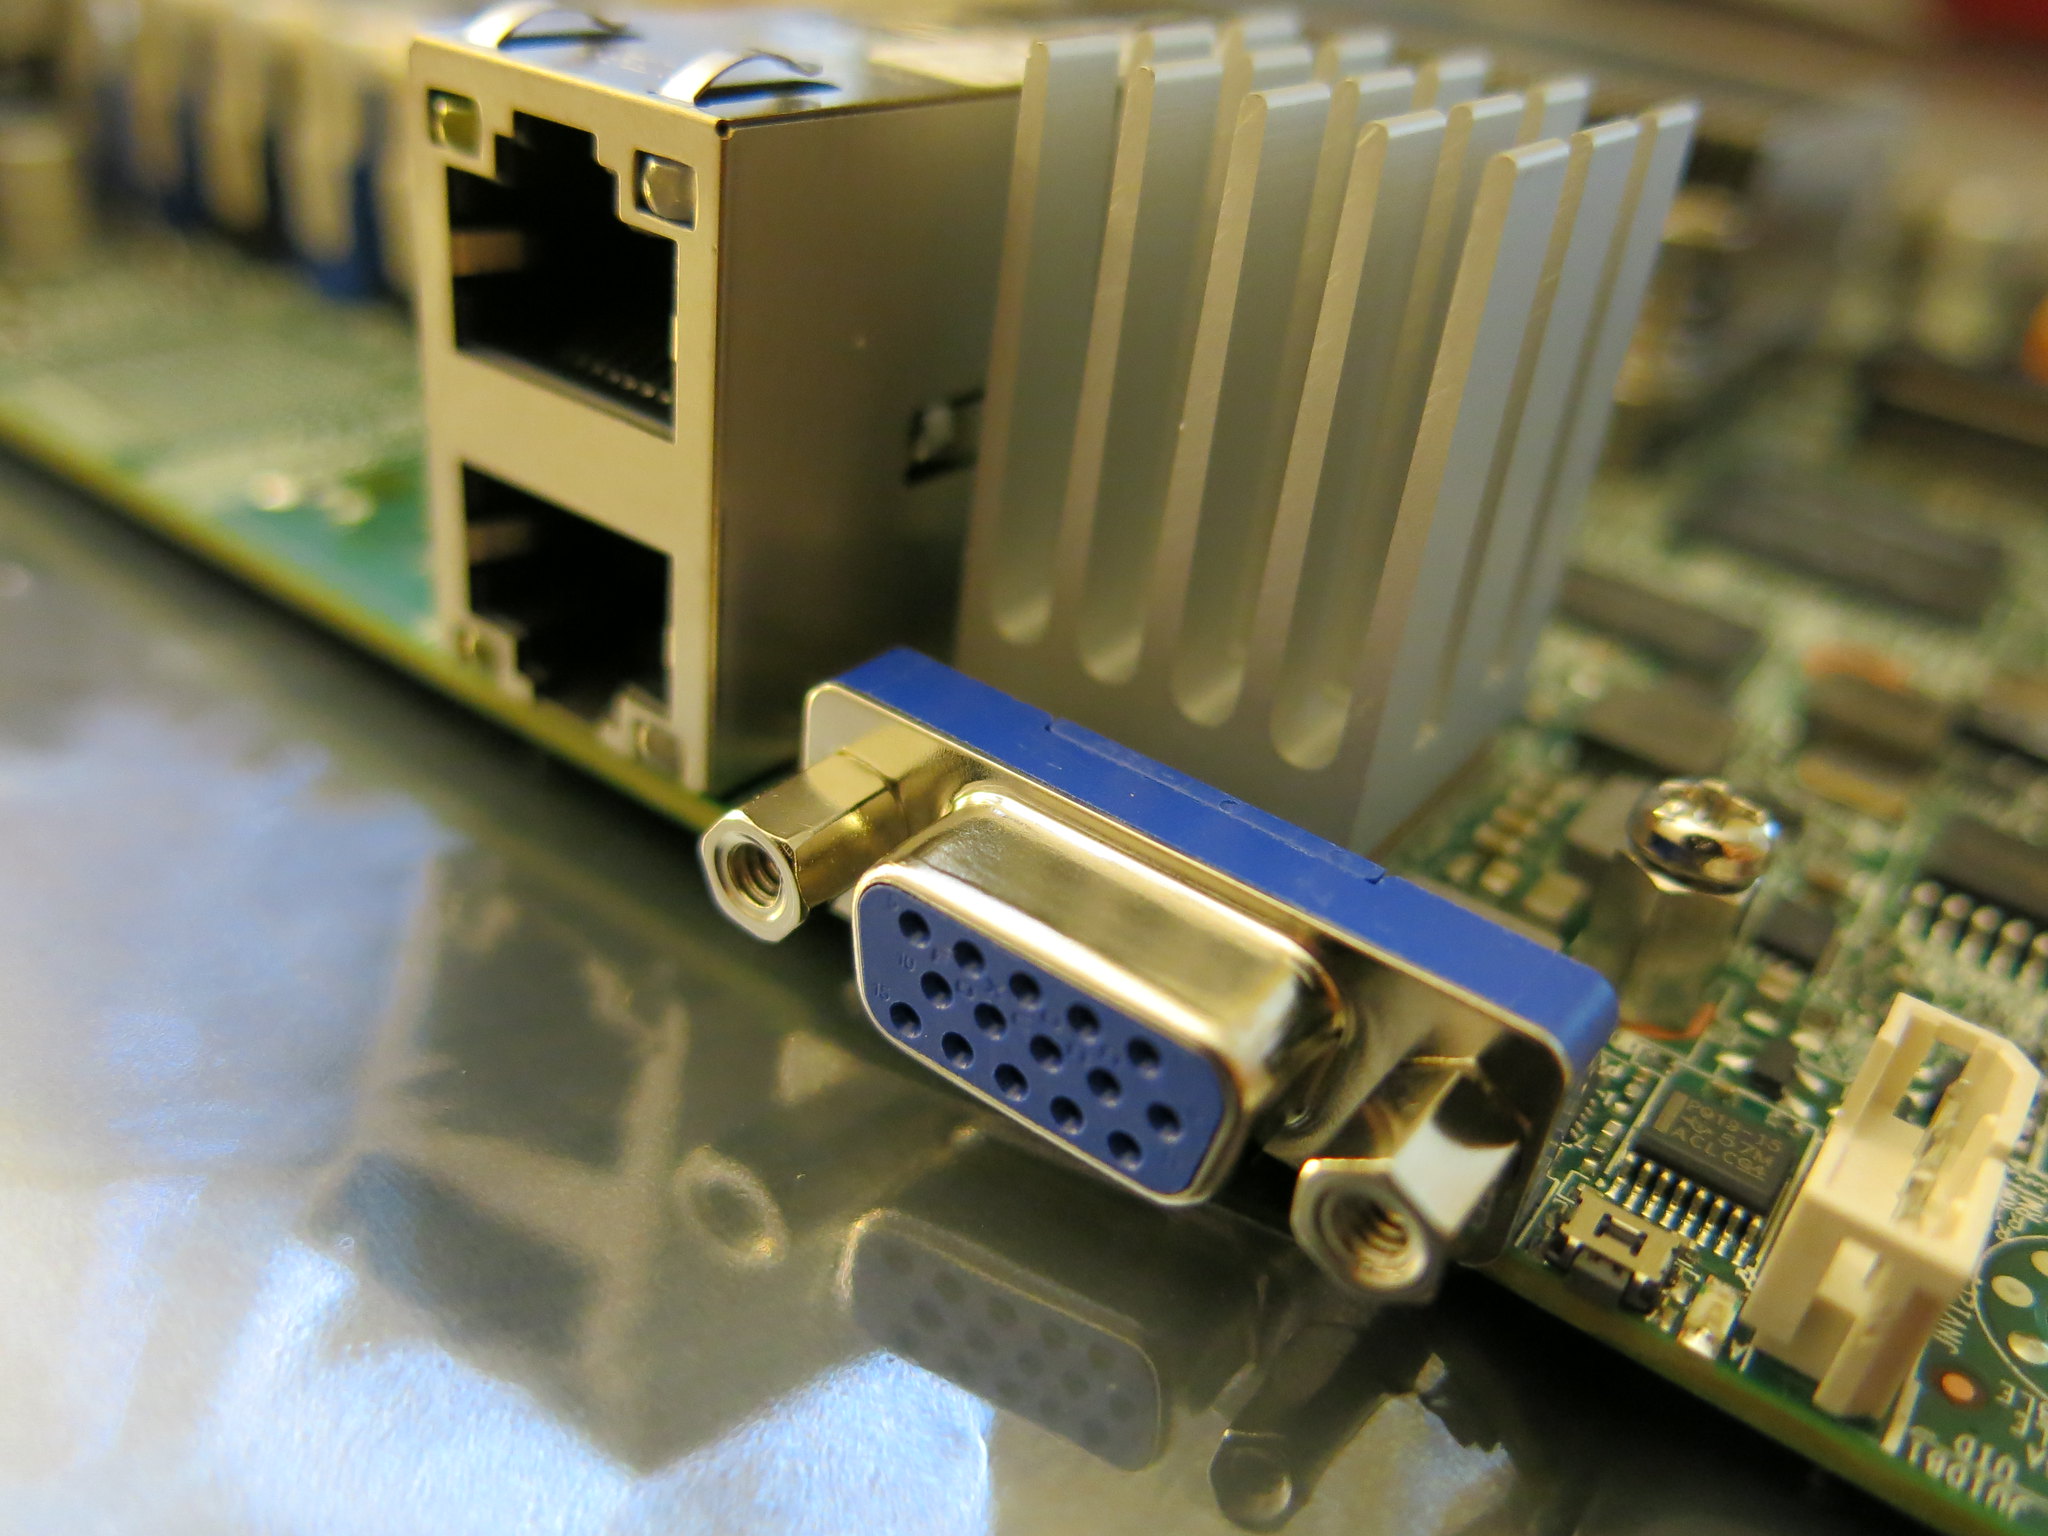
主機板近照:
Closeups.


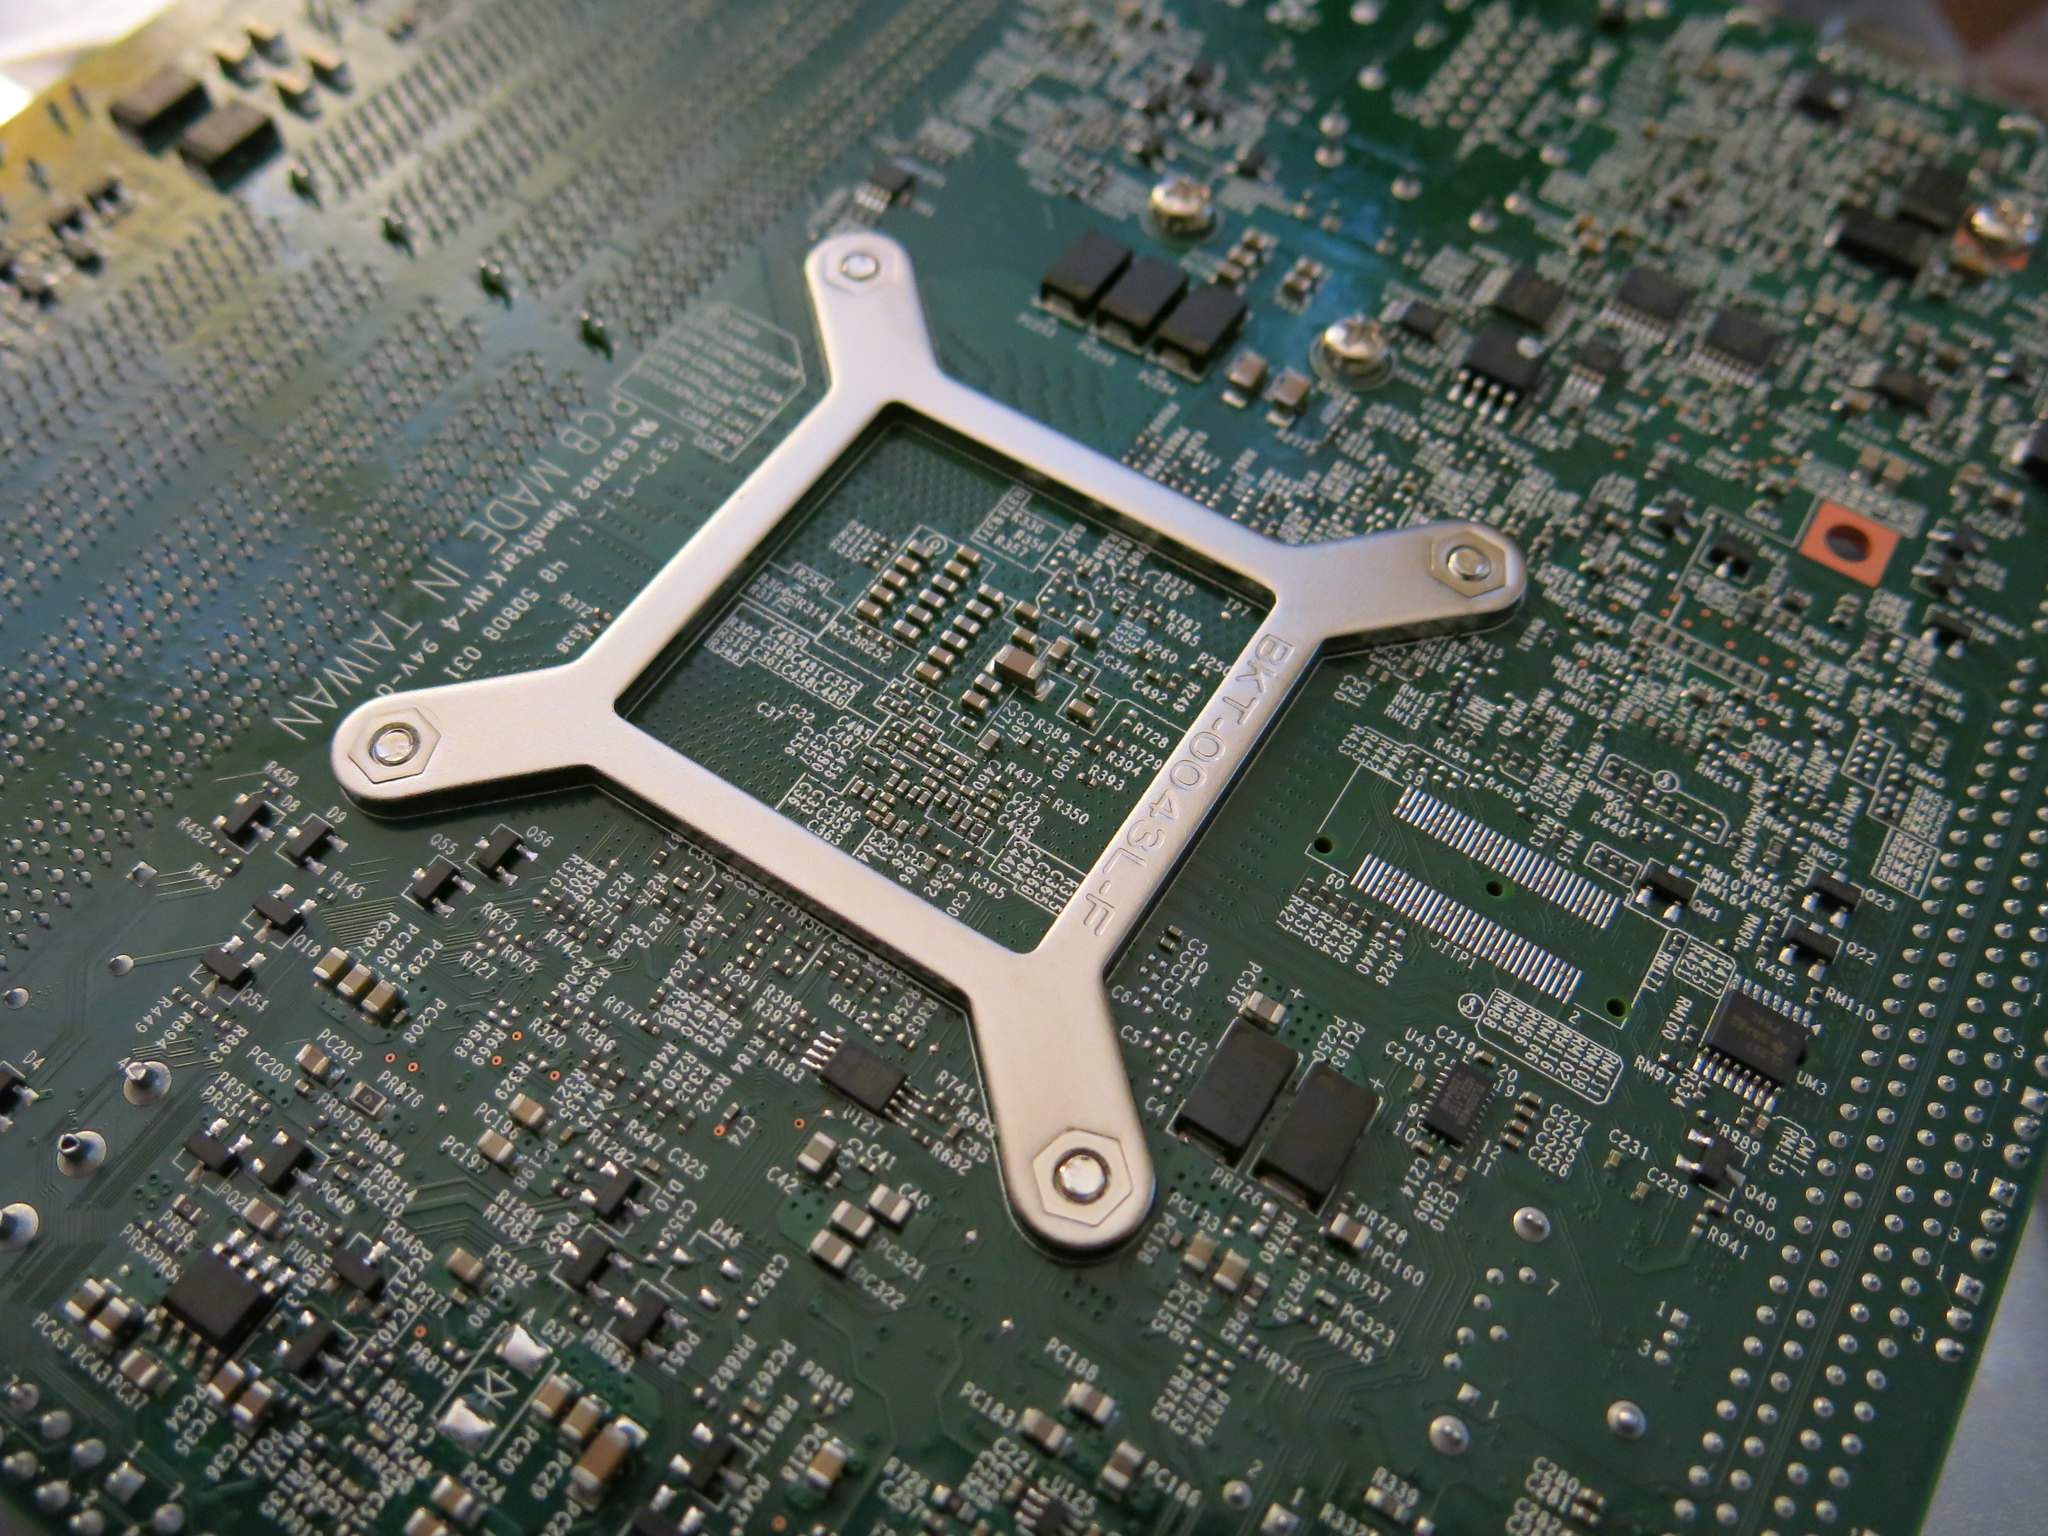
CPU 散熱器沒有附風扇,要自己裝,可以用 40mm 或 50mm 的風扇。或是買 SNK-C0054A4L。
一個 IPMI,二個 USB3,二個 10GbE,六個 SATA,一個 M.2 接頭(有 2242 與 2280 螺絲孔位)。拿來跑 L2ARC 正好。
24Pin 與 4Pin 電源接頭,這張板子可以只插 4Pin (12V),這樣你只需要一顆變壓器就可以開機,不必弄一顆電源供應器,整線也比較方便。
There is no heatsink fan, you can get a 40mm / 50mm fan, or a SNK-C0054A4L.
One IPMI port, 2 USB3, 2 10GBase-T ports, 6 SATA3, one M.2 (with 2242/2280 screw holes), perfect for L2ARC.
You can power this board with normal 24pin, or 4pin (12V) alone, so you don't need a PSU to run this, and better cable management.
海韻 G Series 550W APFC 80Plus Gold:
Seasonic Power.


可惜只有半模組化:
Sadly it's not fully modular.
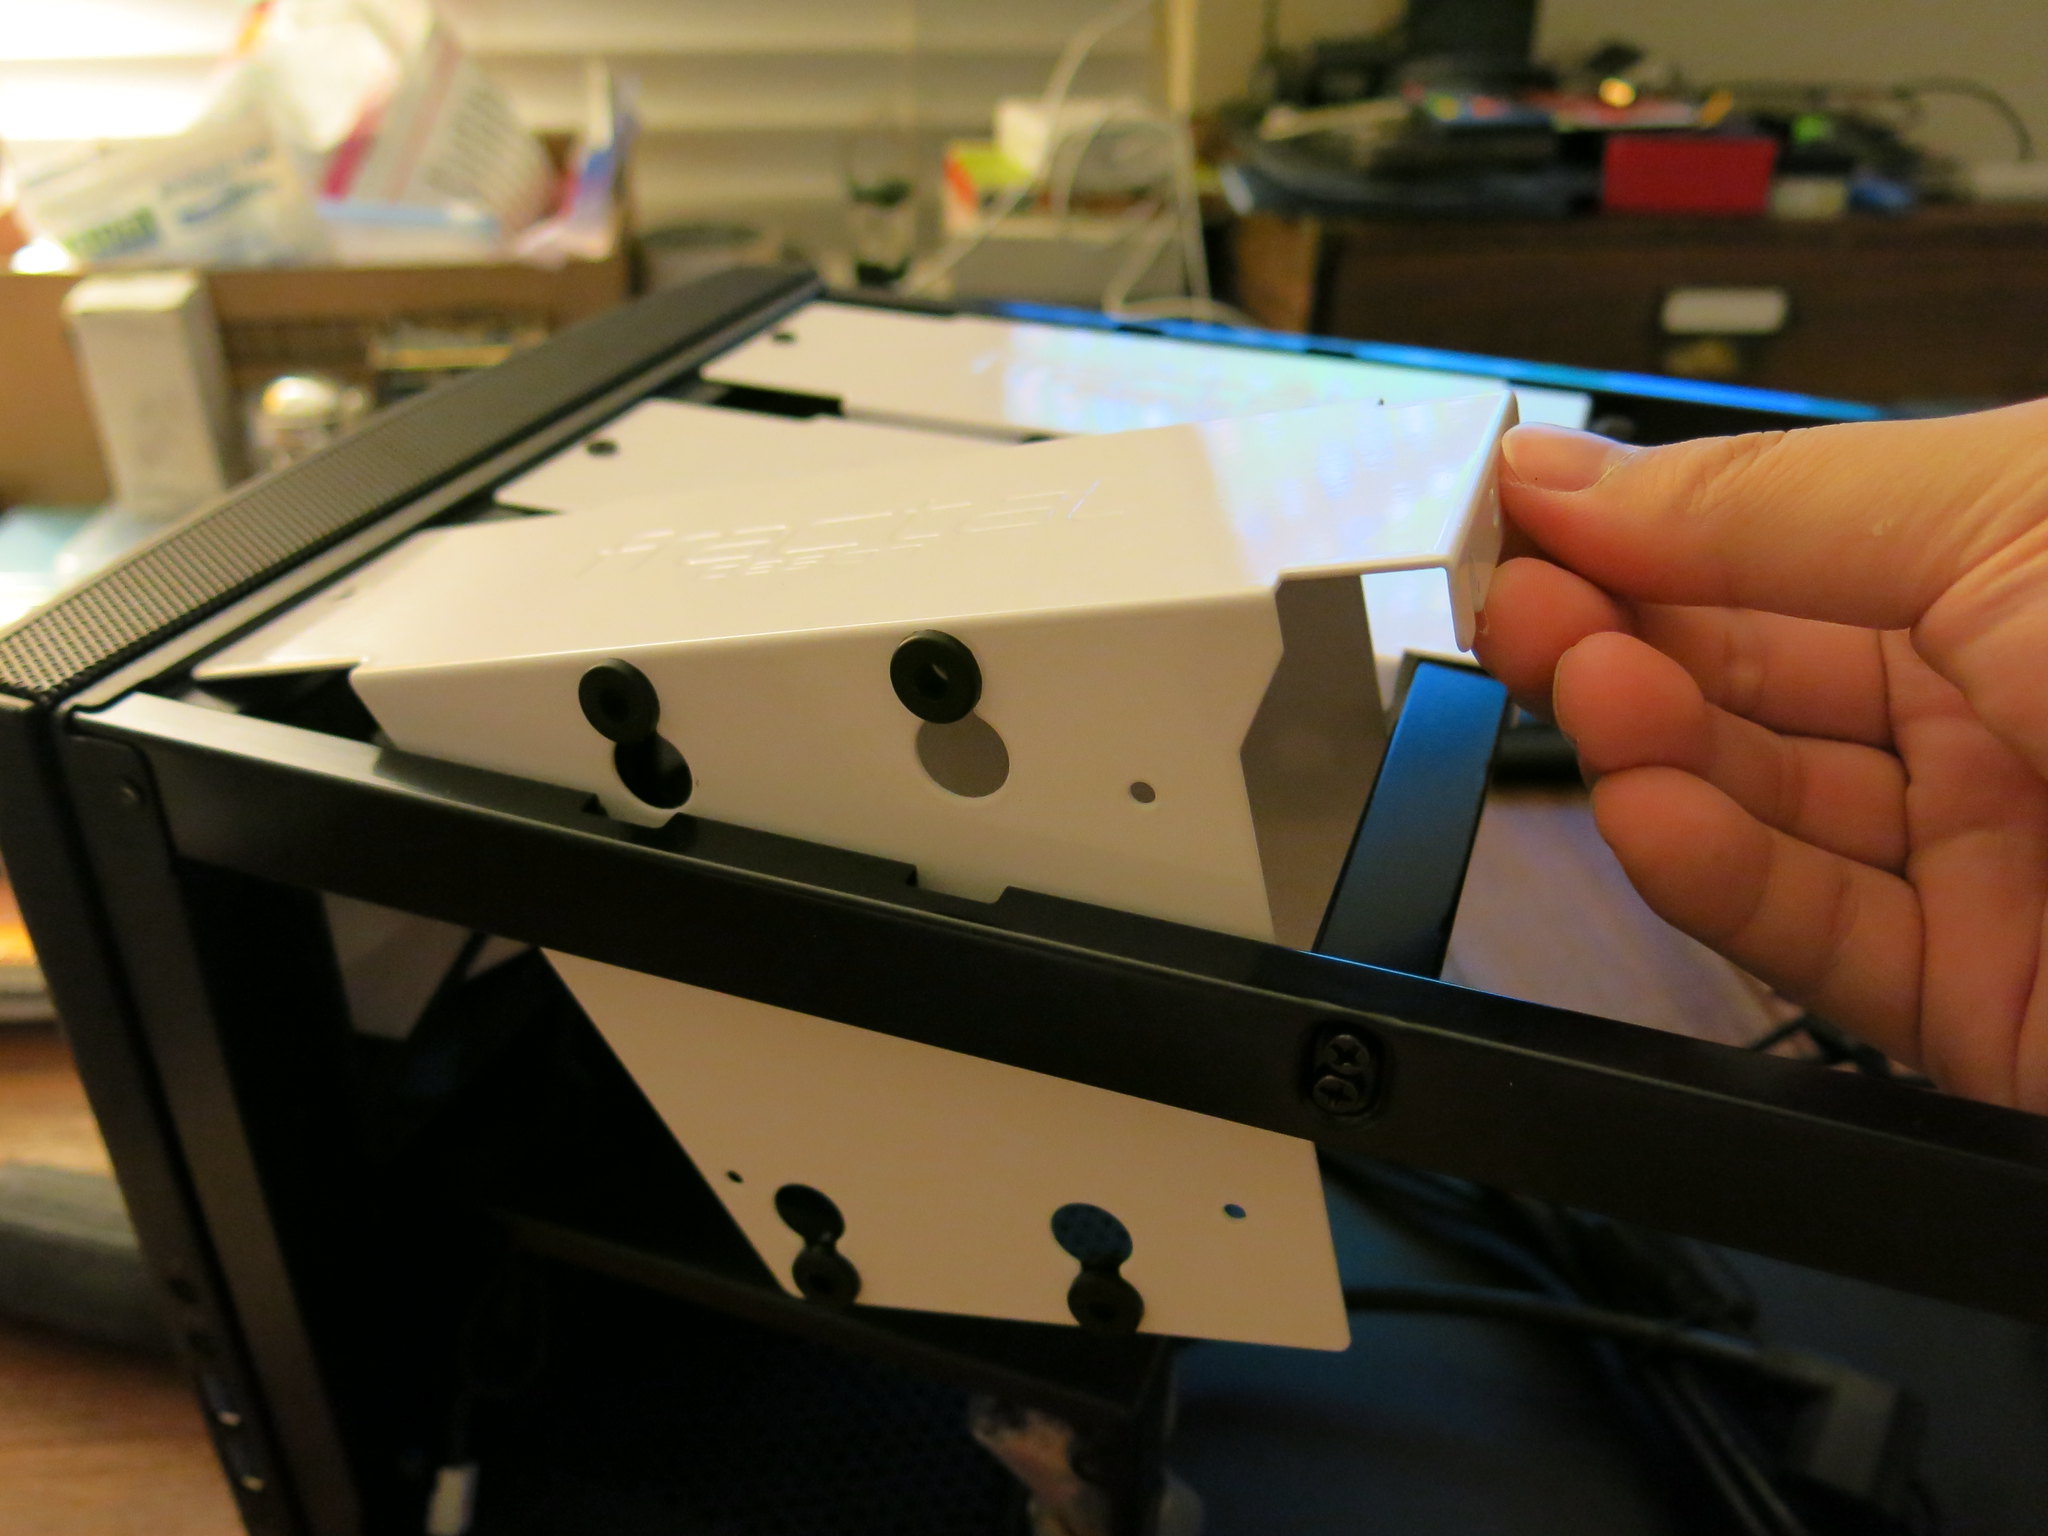
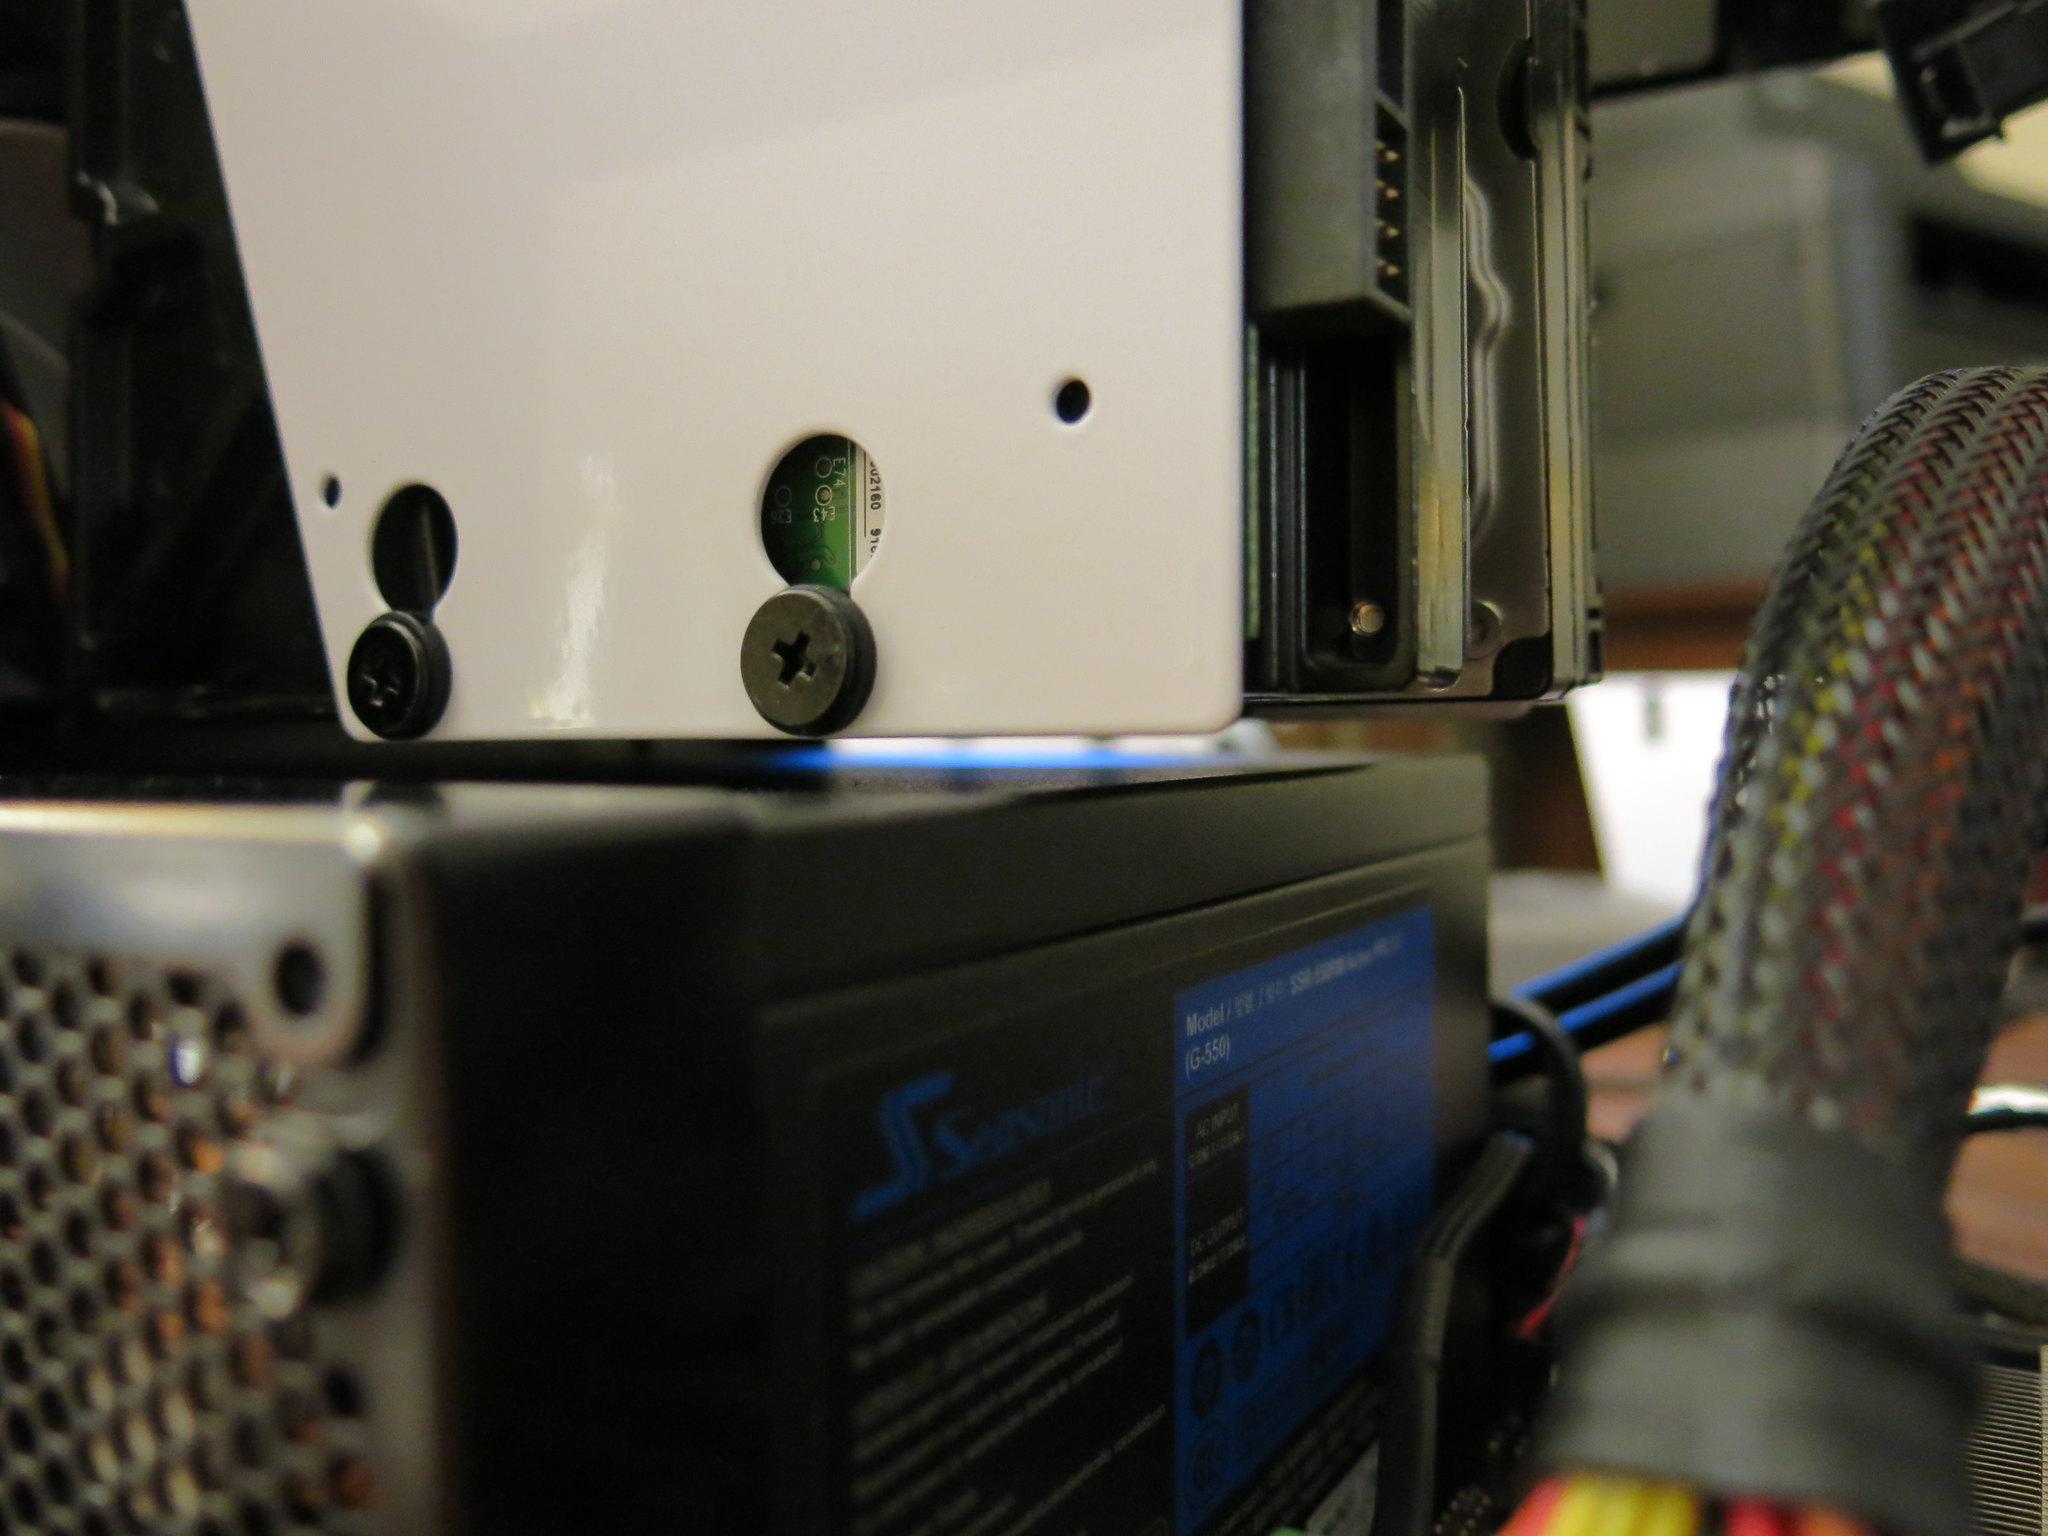
Fractal Design Node 304 硬碟架:
HDD racks, or hangars.
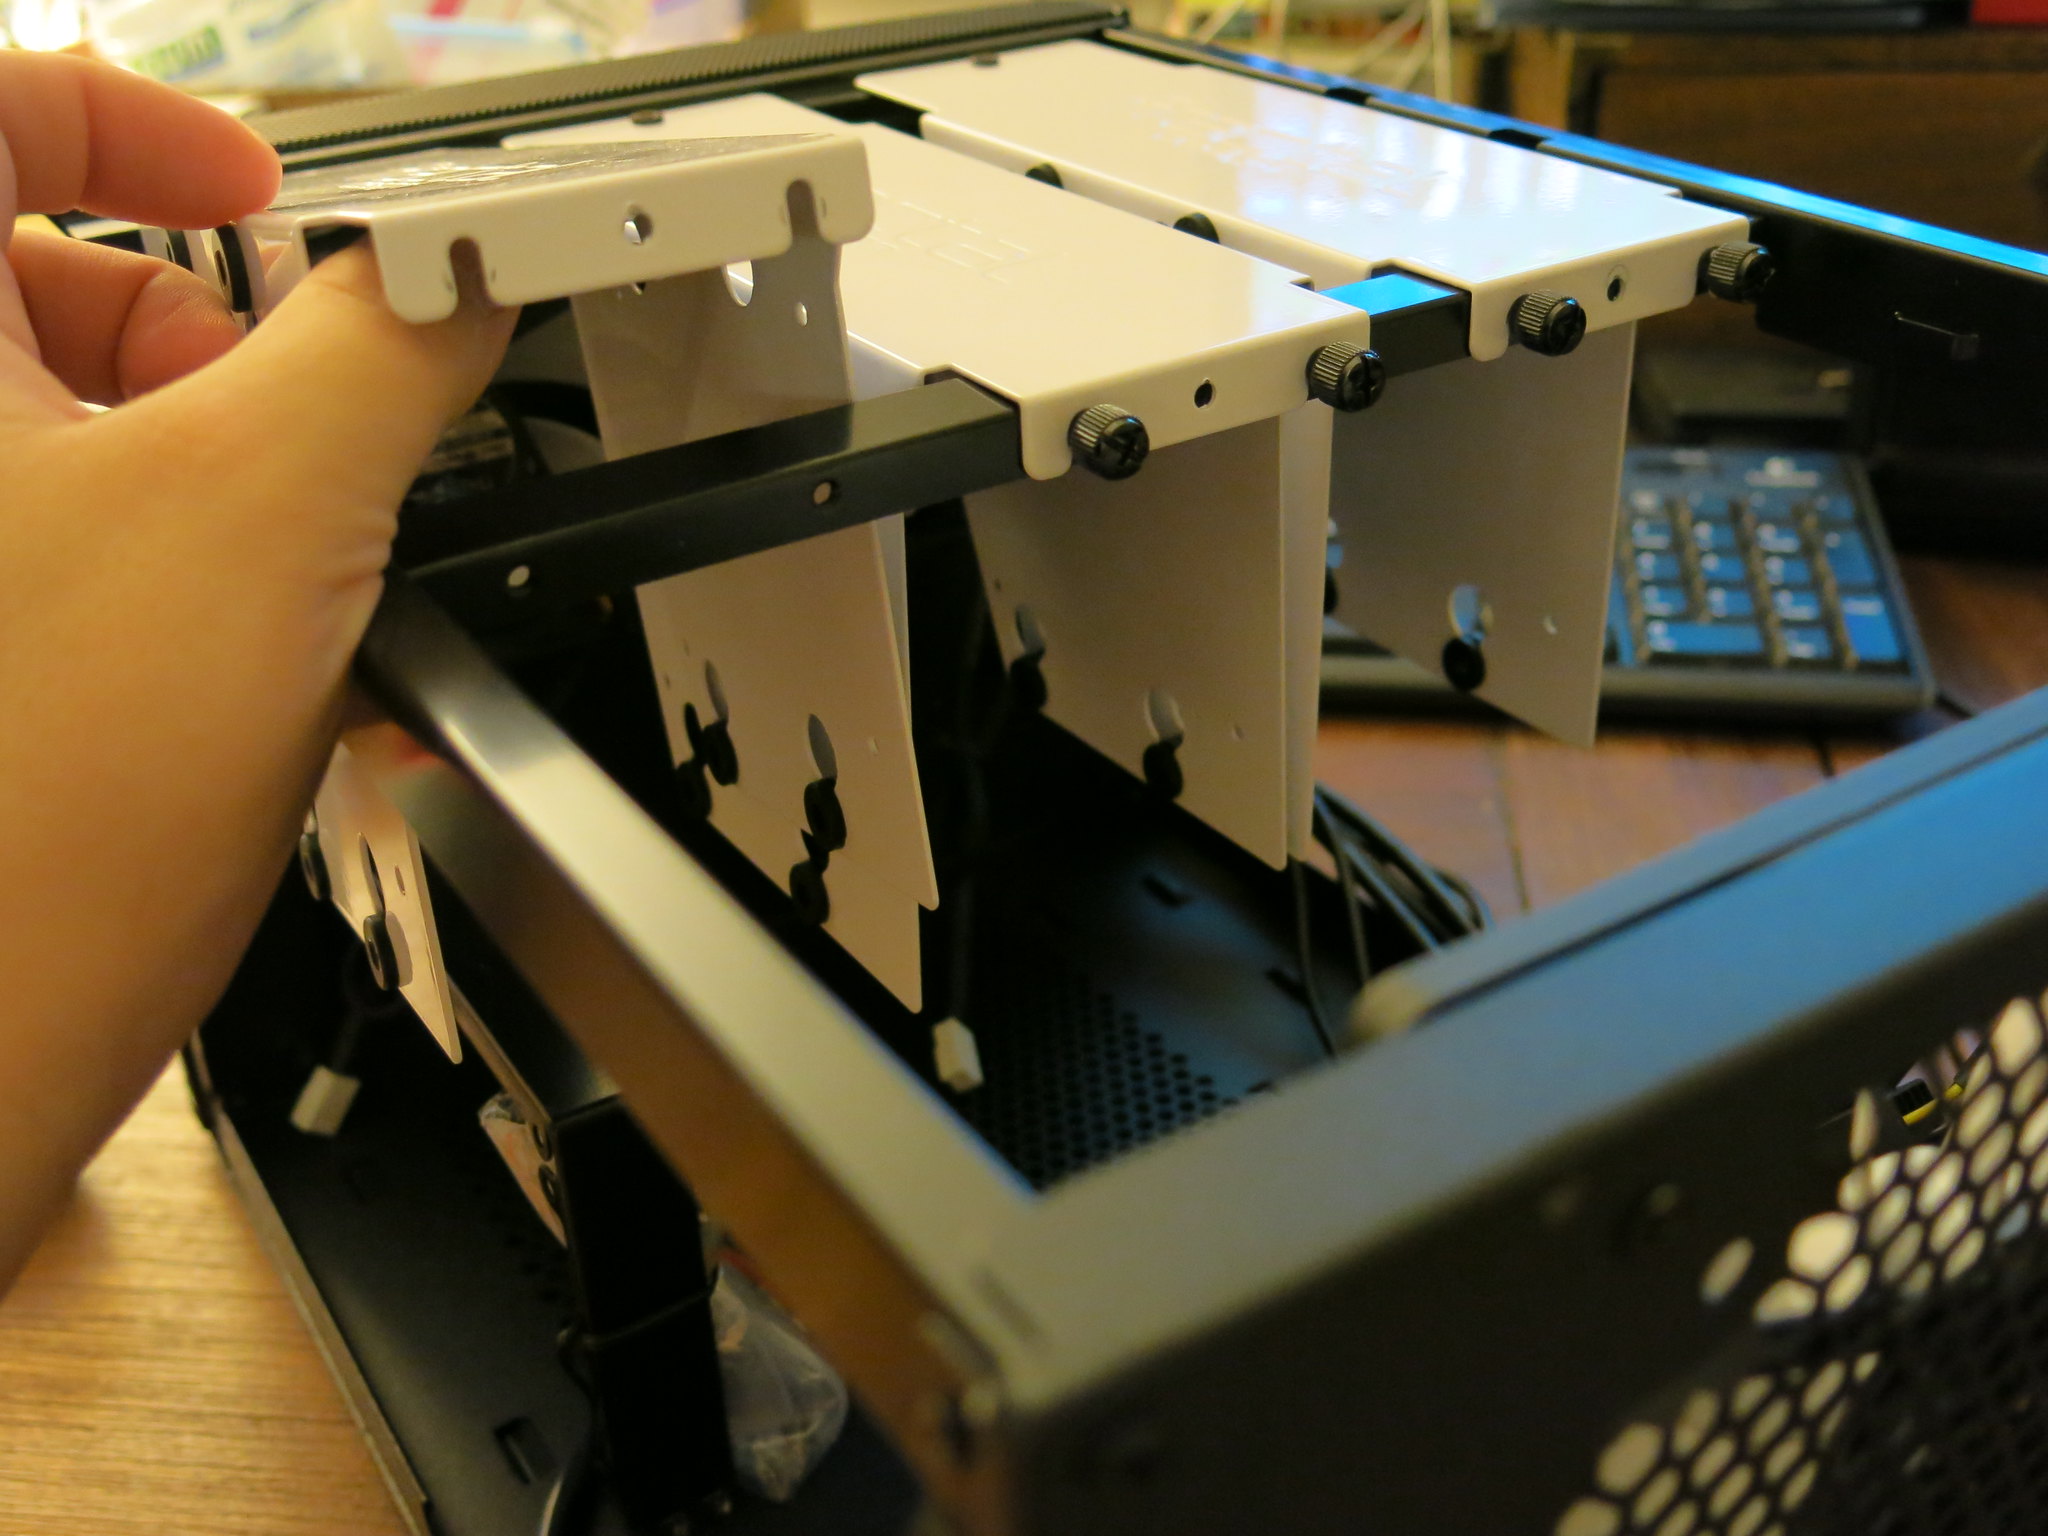
硬碟架設計在電源供應器正上方:
Directly above PSU.
裝上電源供應器:
PSU installed.


裝上主機板,硬碟試組裝:
Motherboard and test with some HDDs.
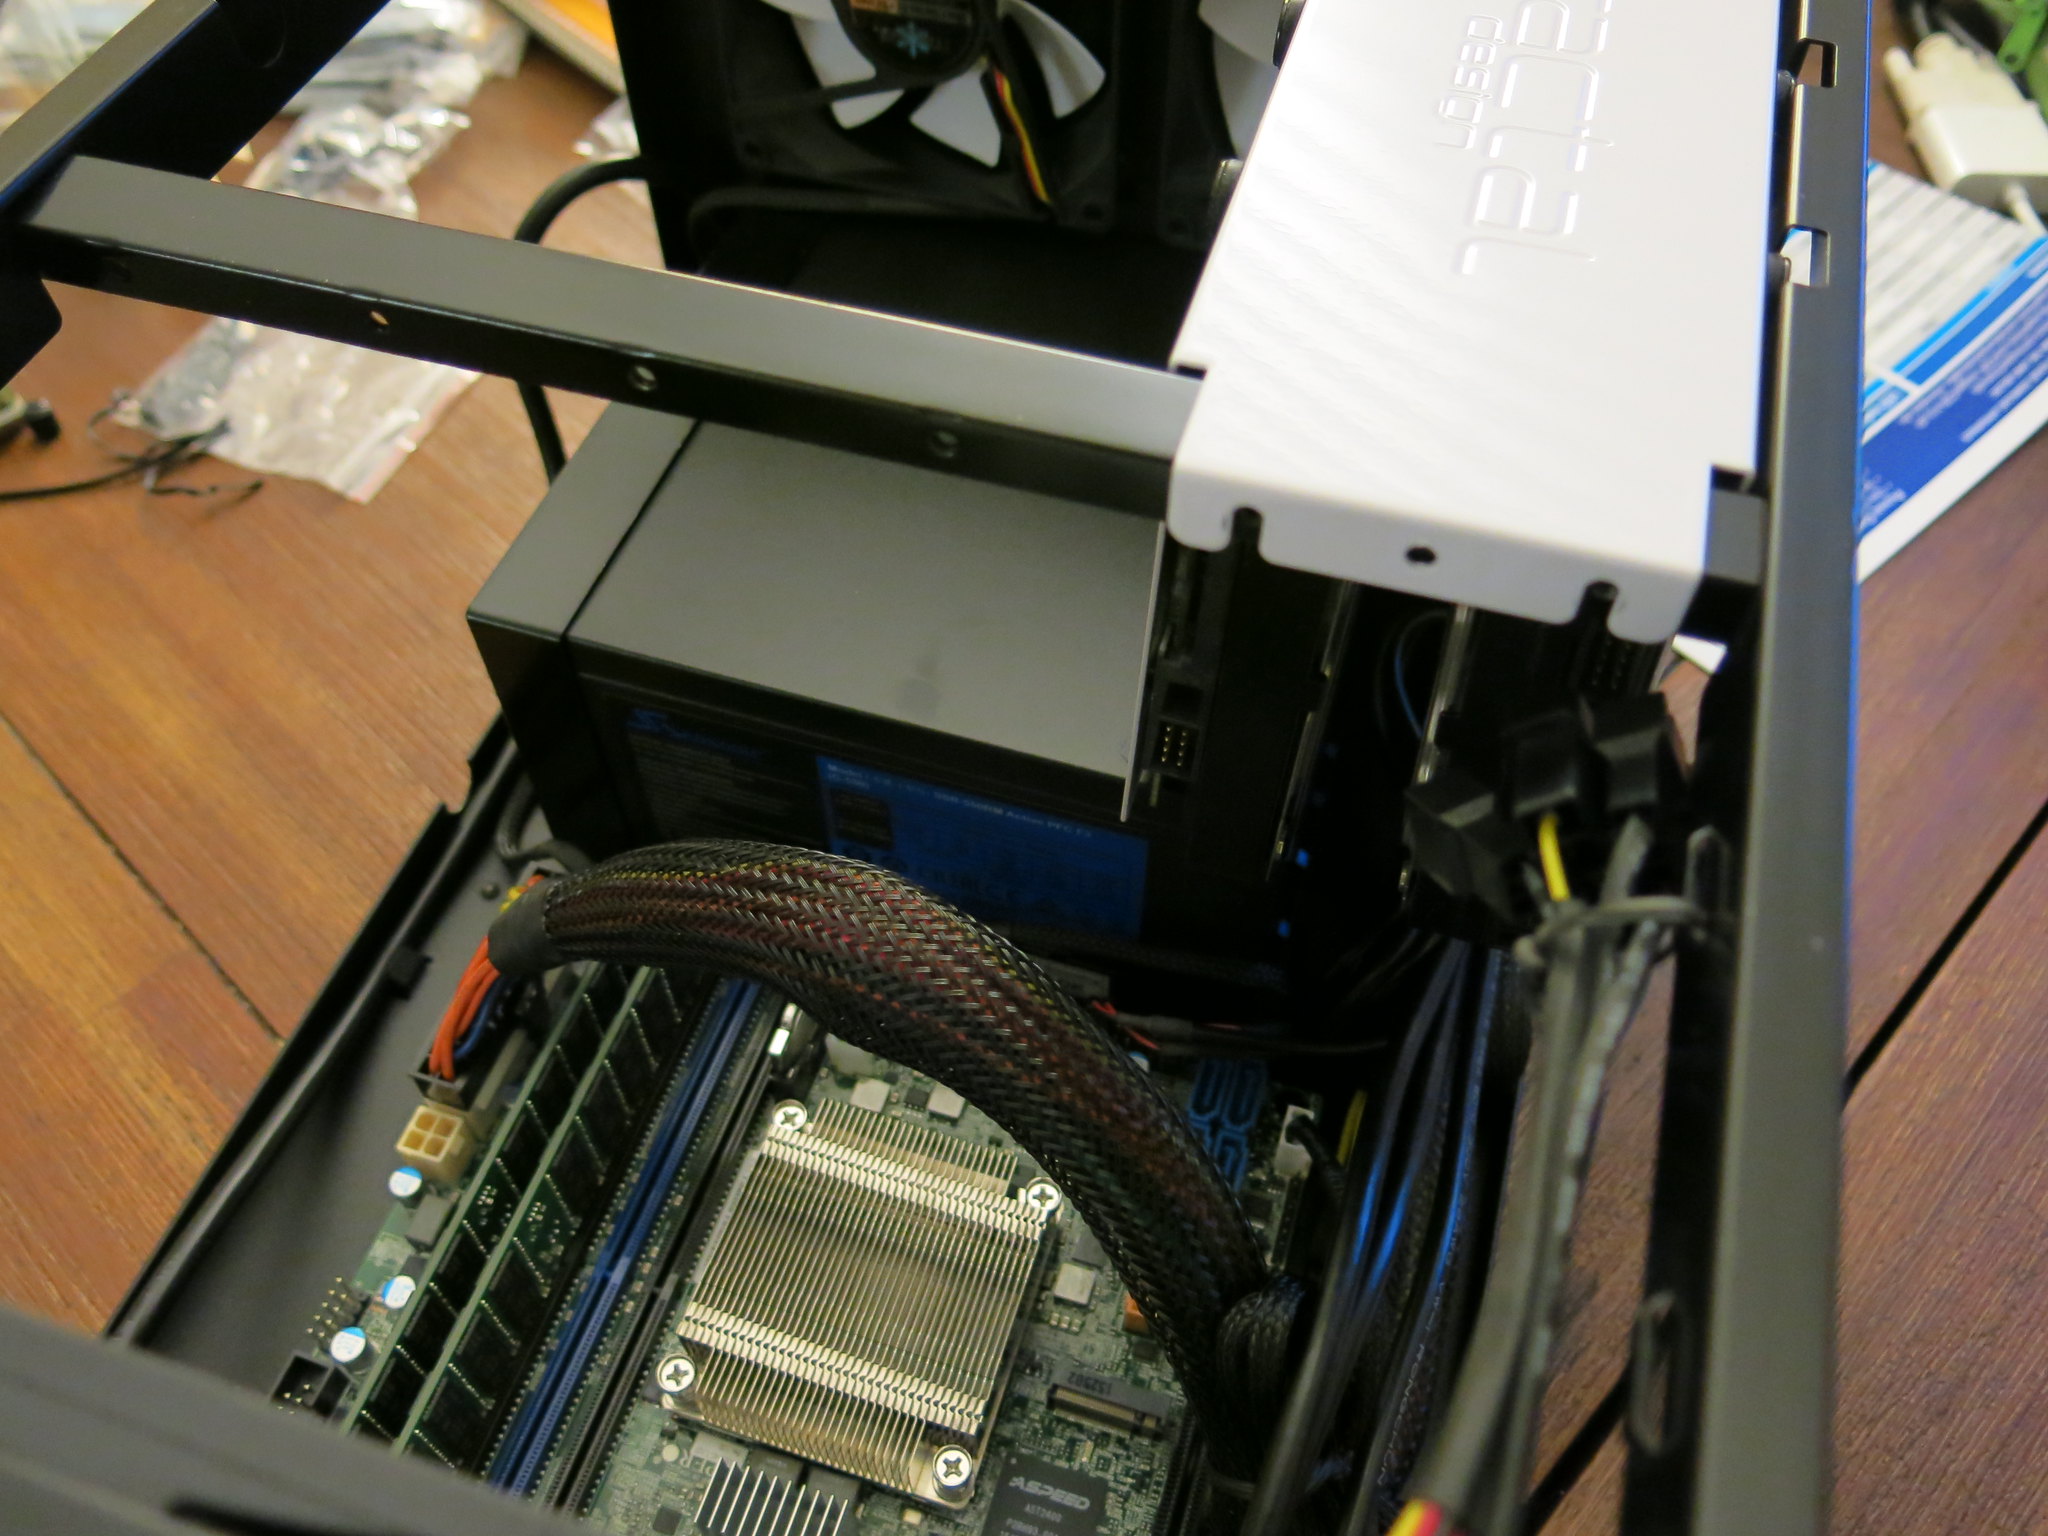
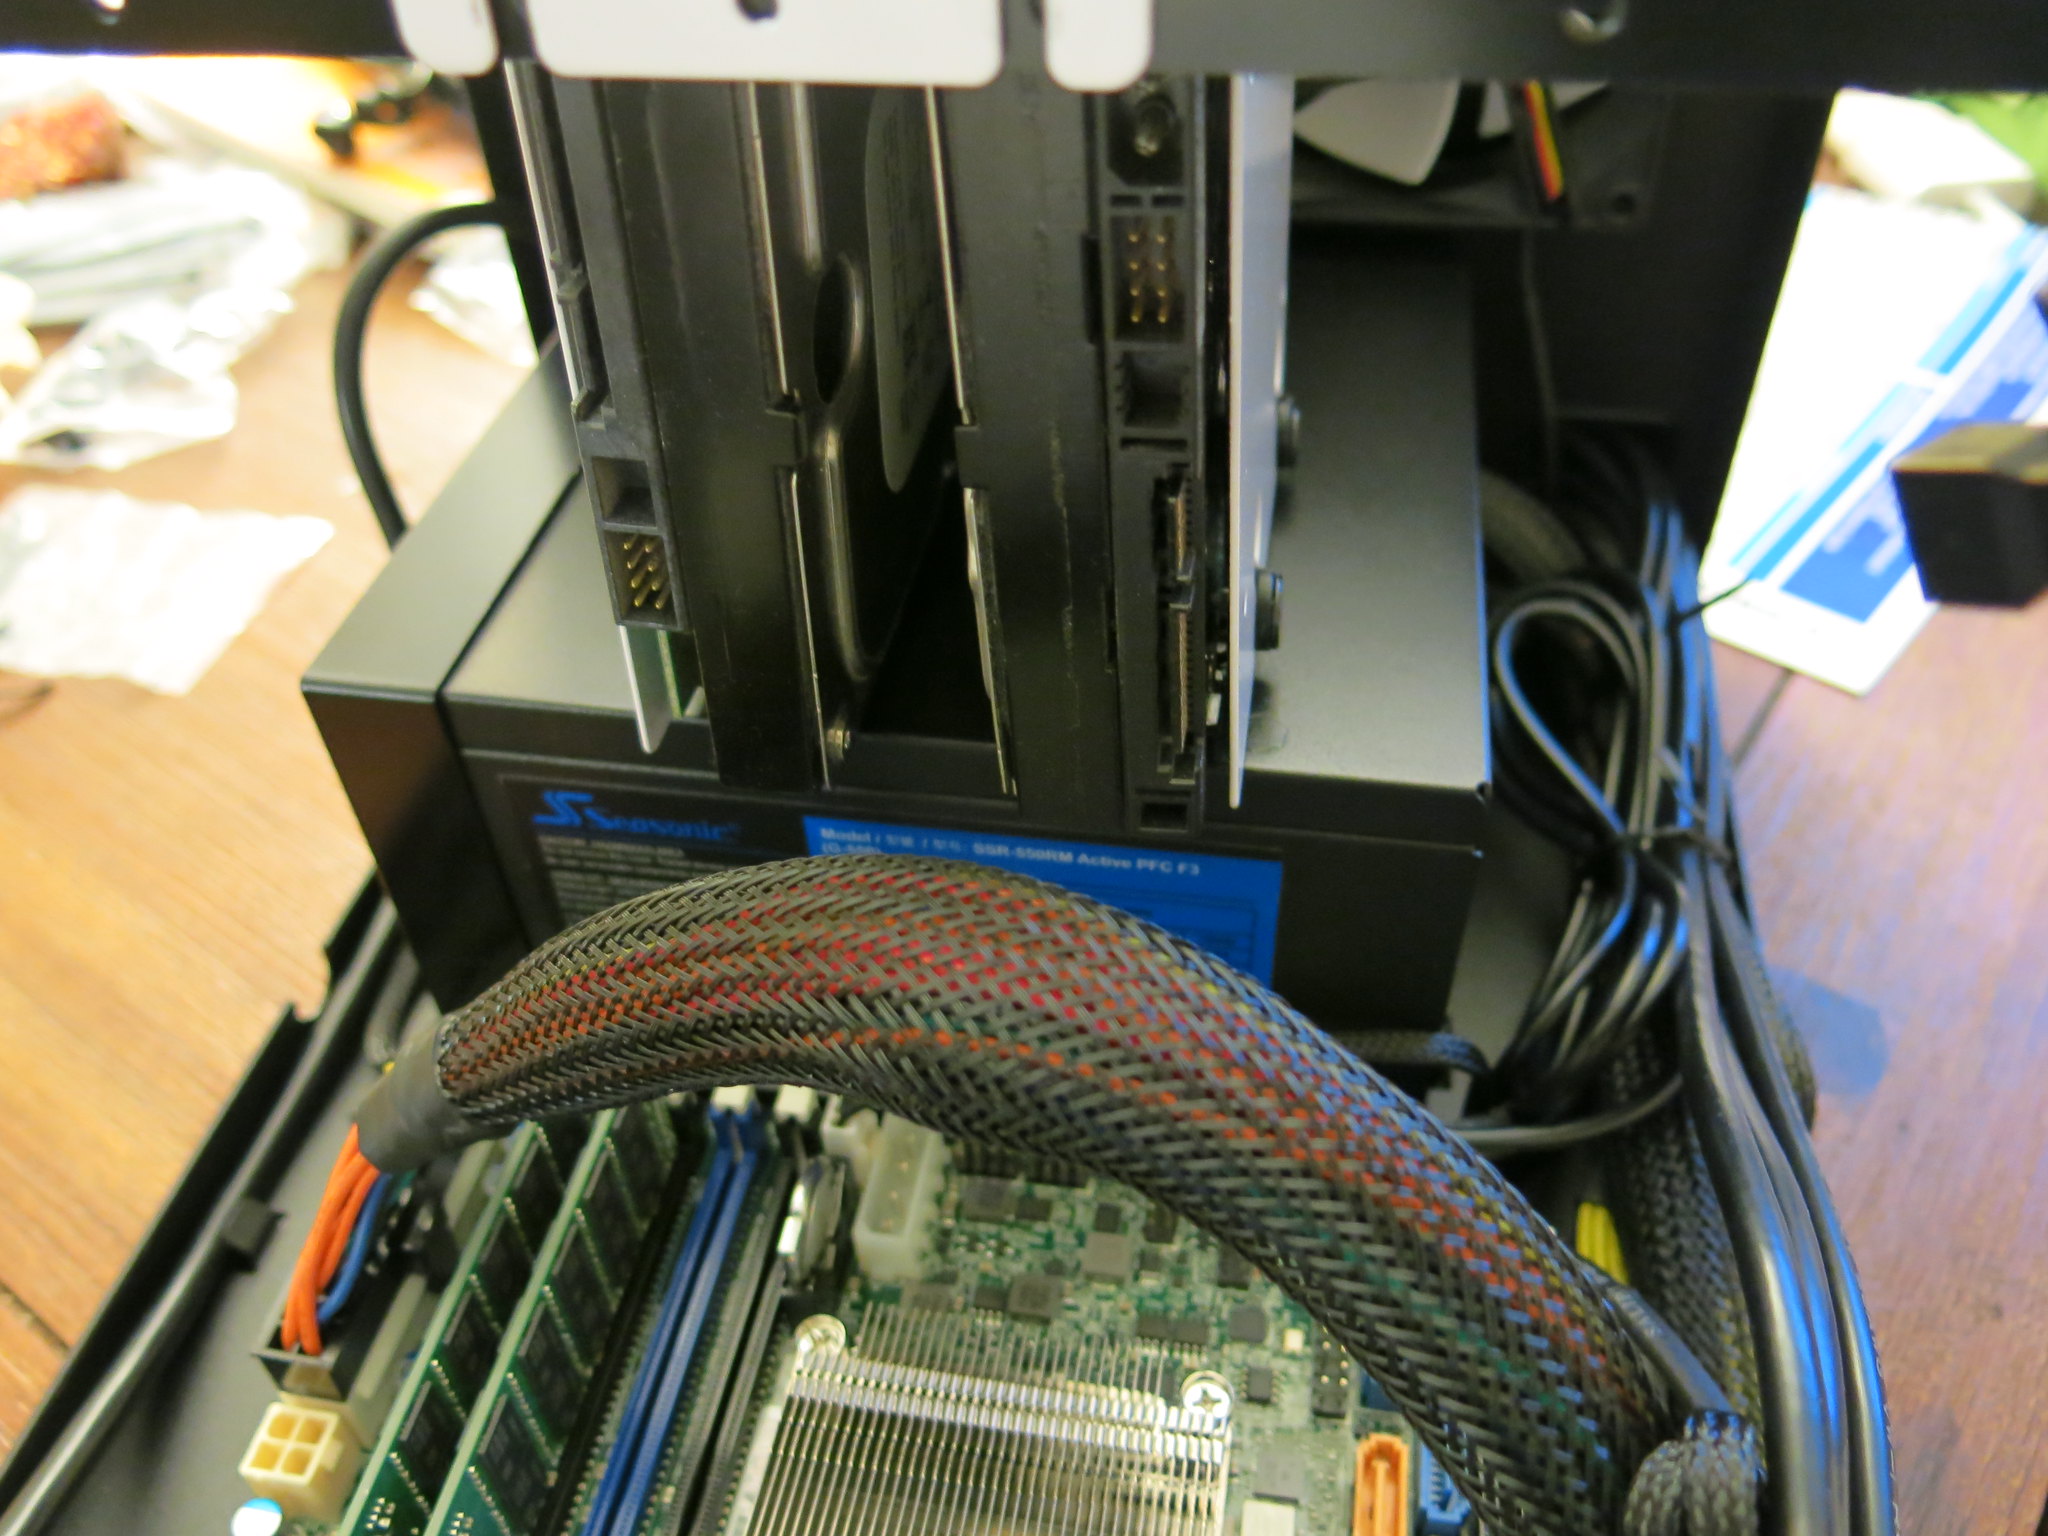
間隔很小,不過散熱沒有問題。
Small clearance but no issue for heat dissipation.
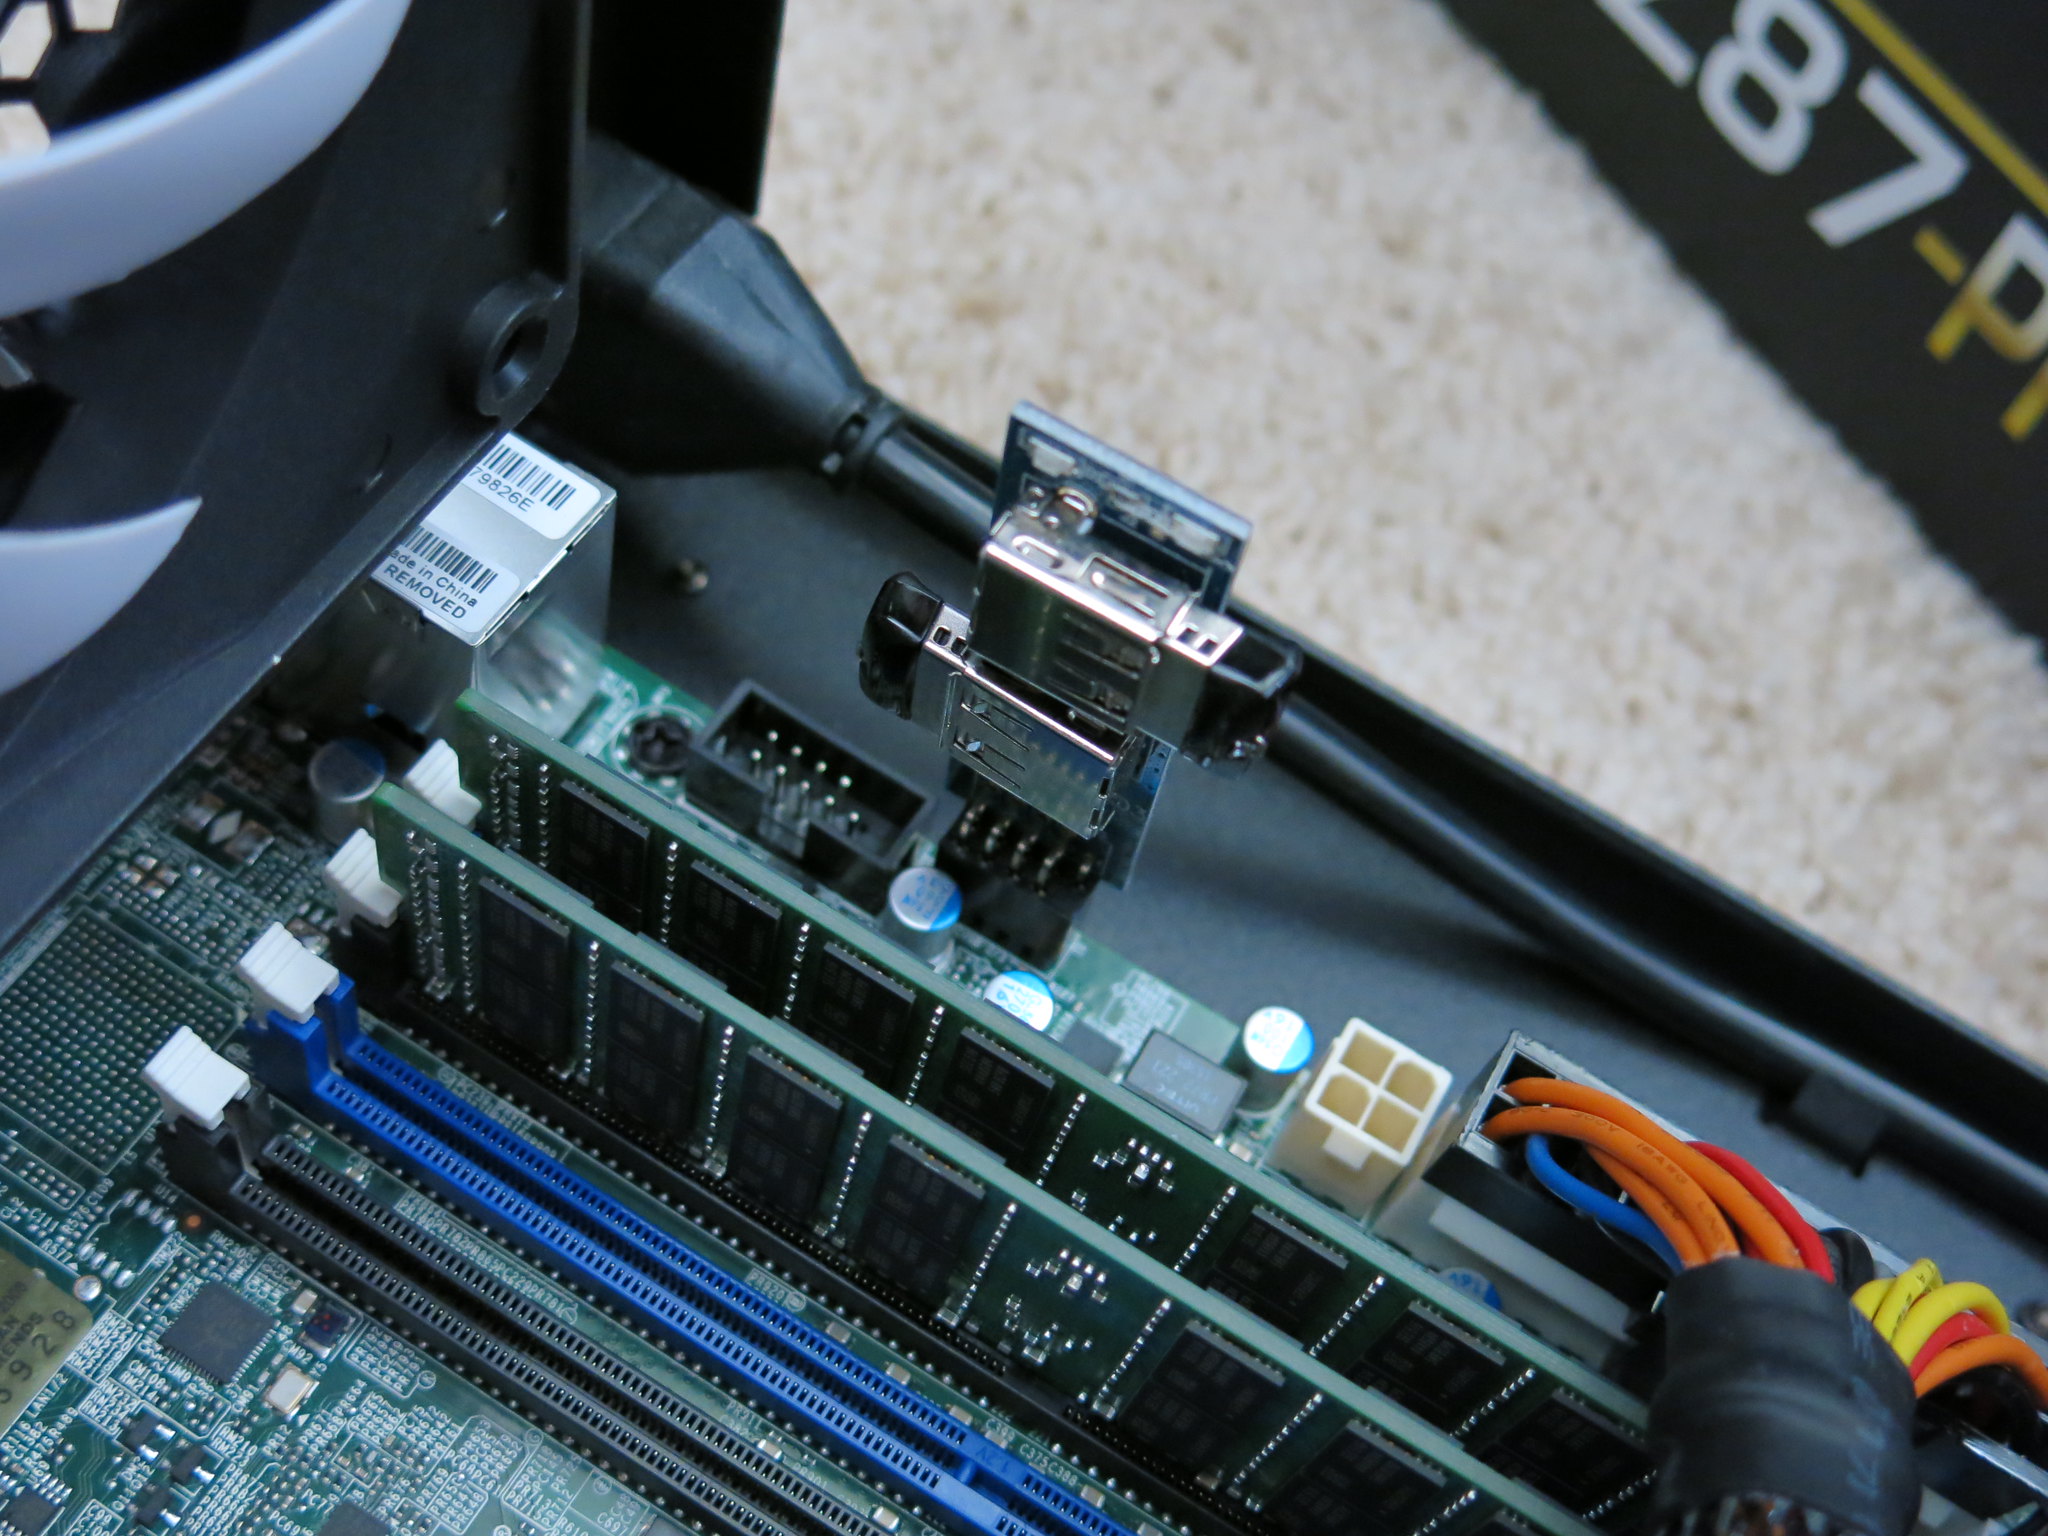
記憶體與開機碟:
Memory and boot disks.

二條 32G DDR4 ECC Registered, 未來可以再加二條。
2x 32G ECC DDR Registered, maybe two more later.
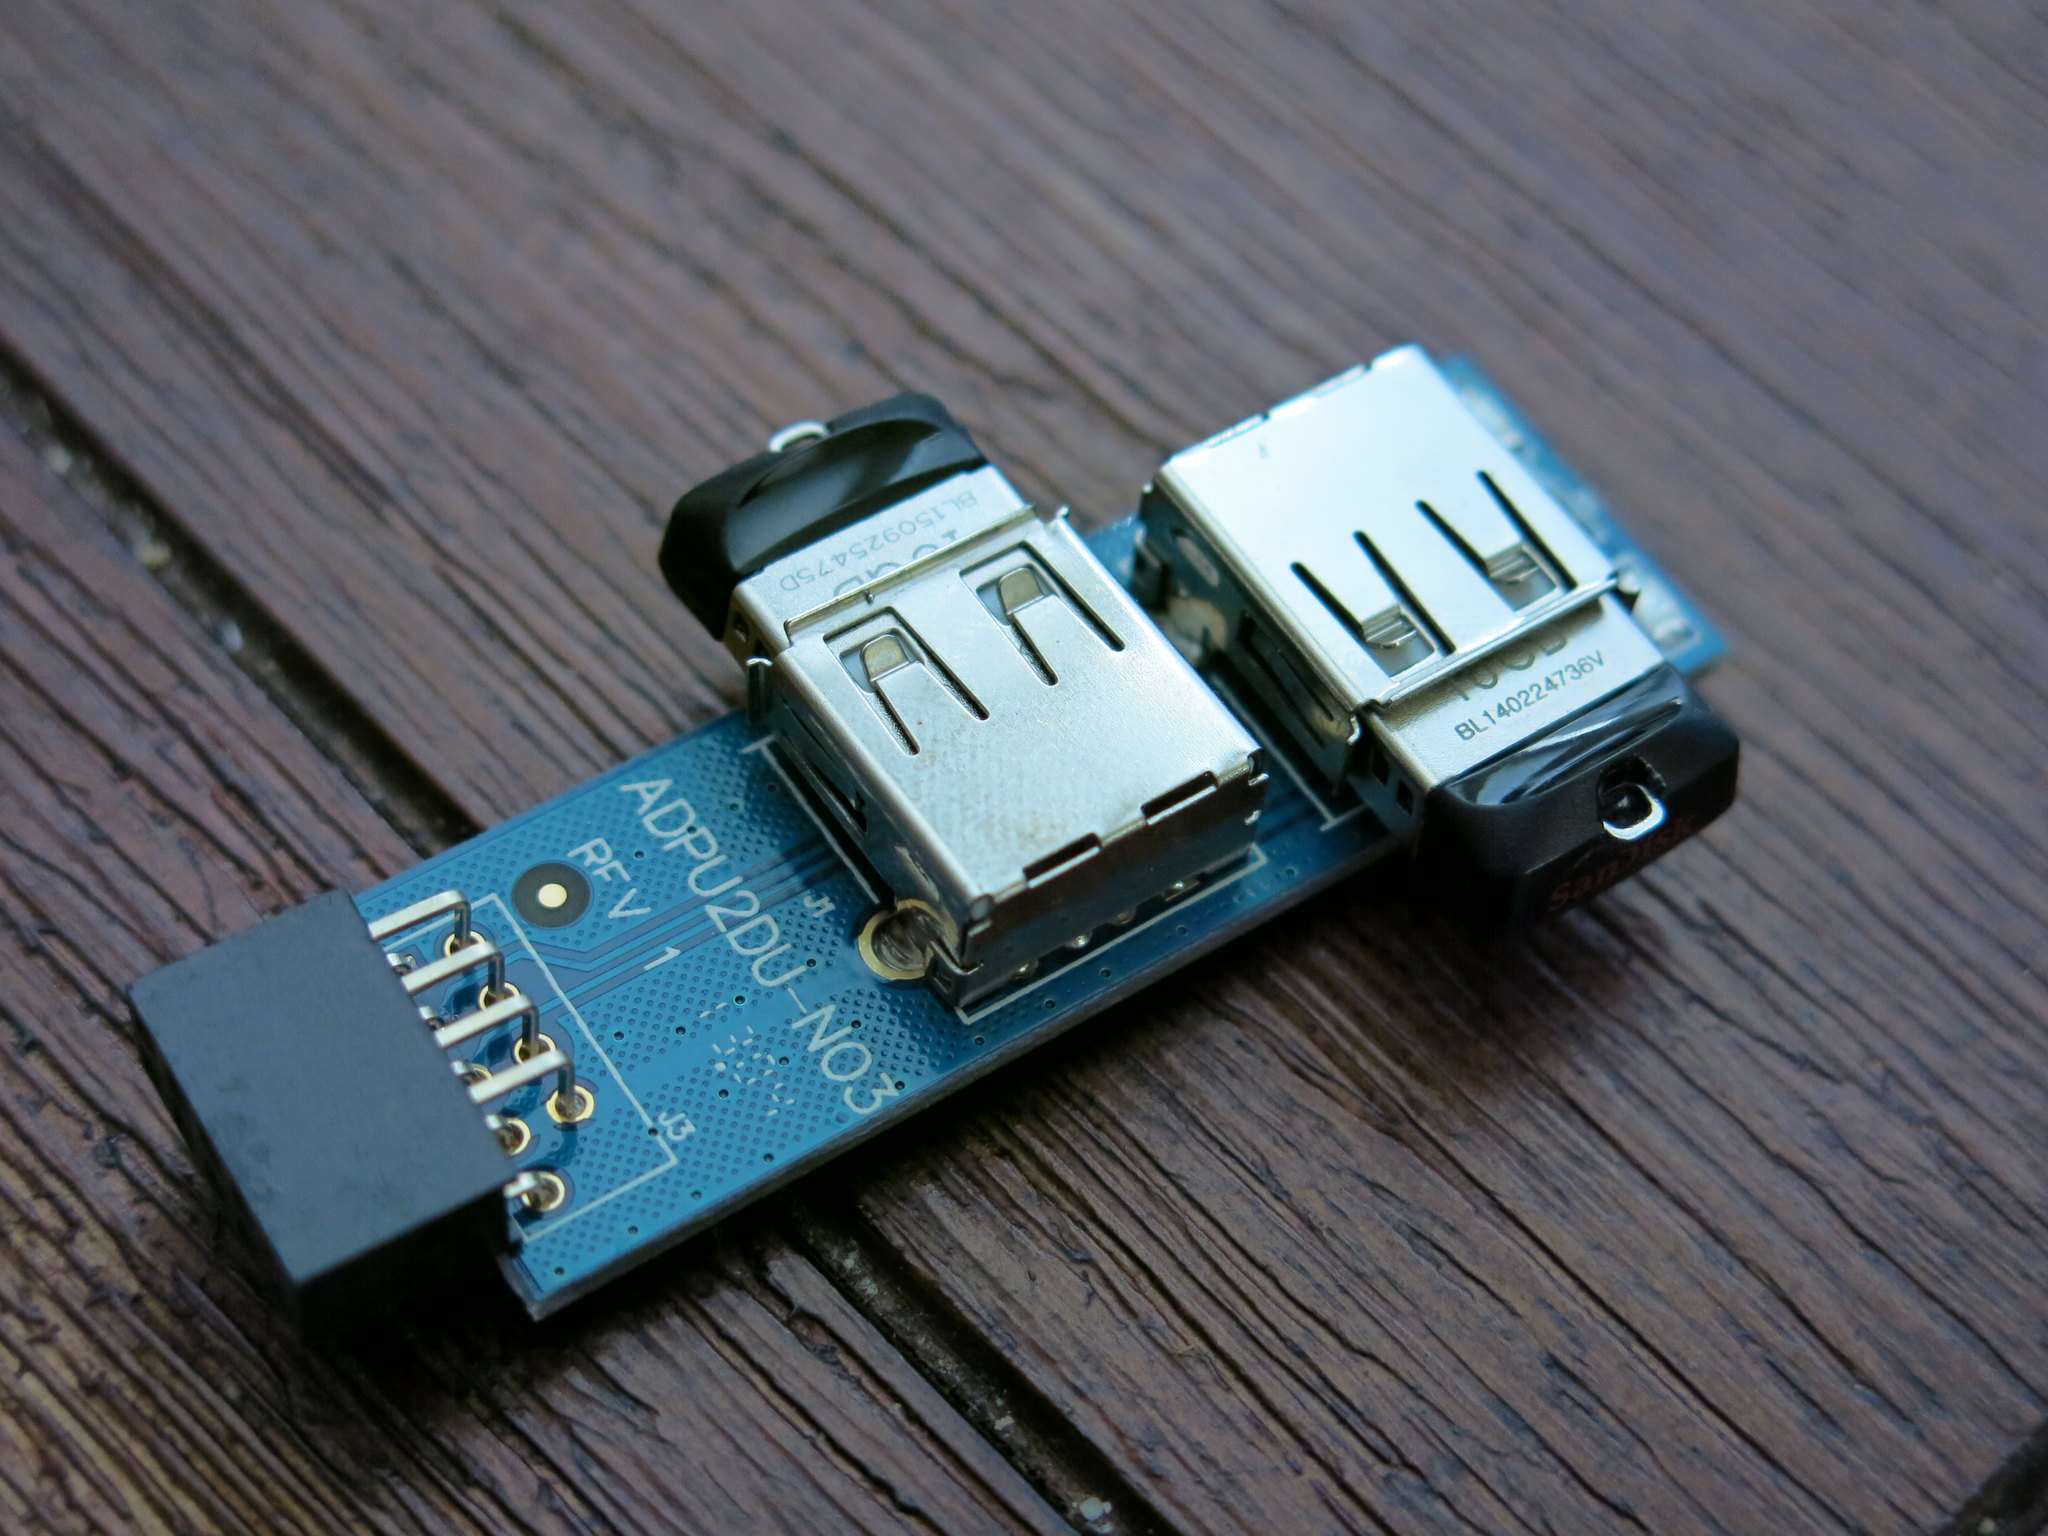
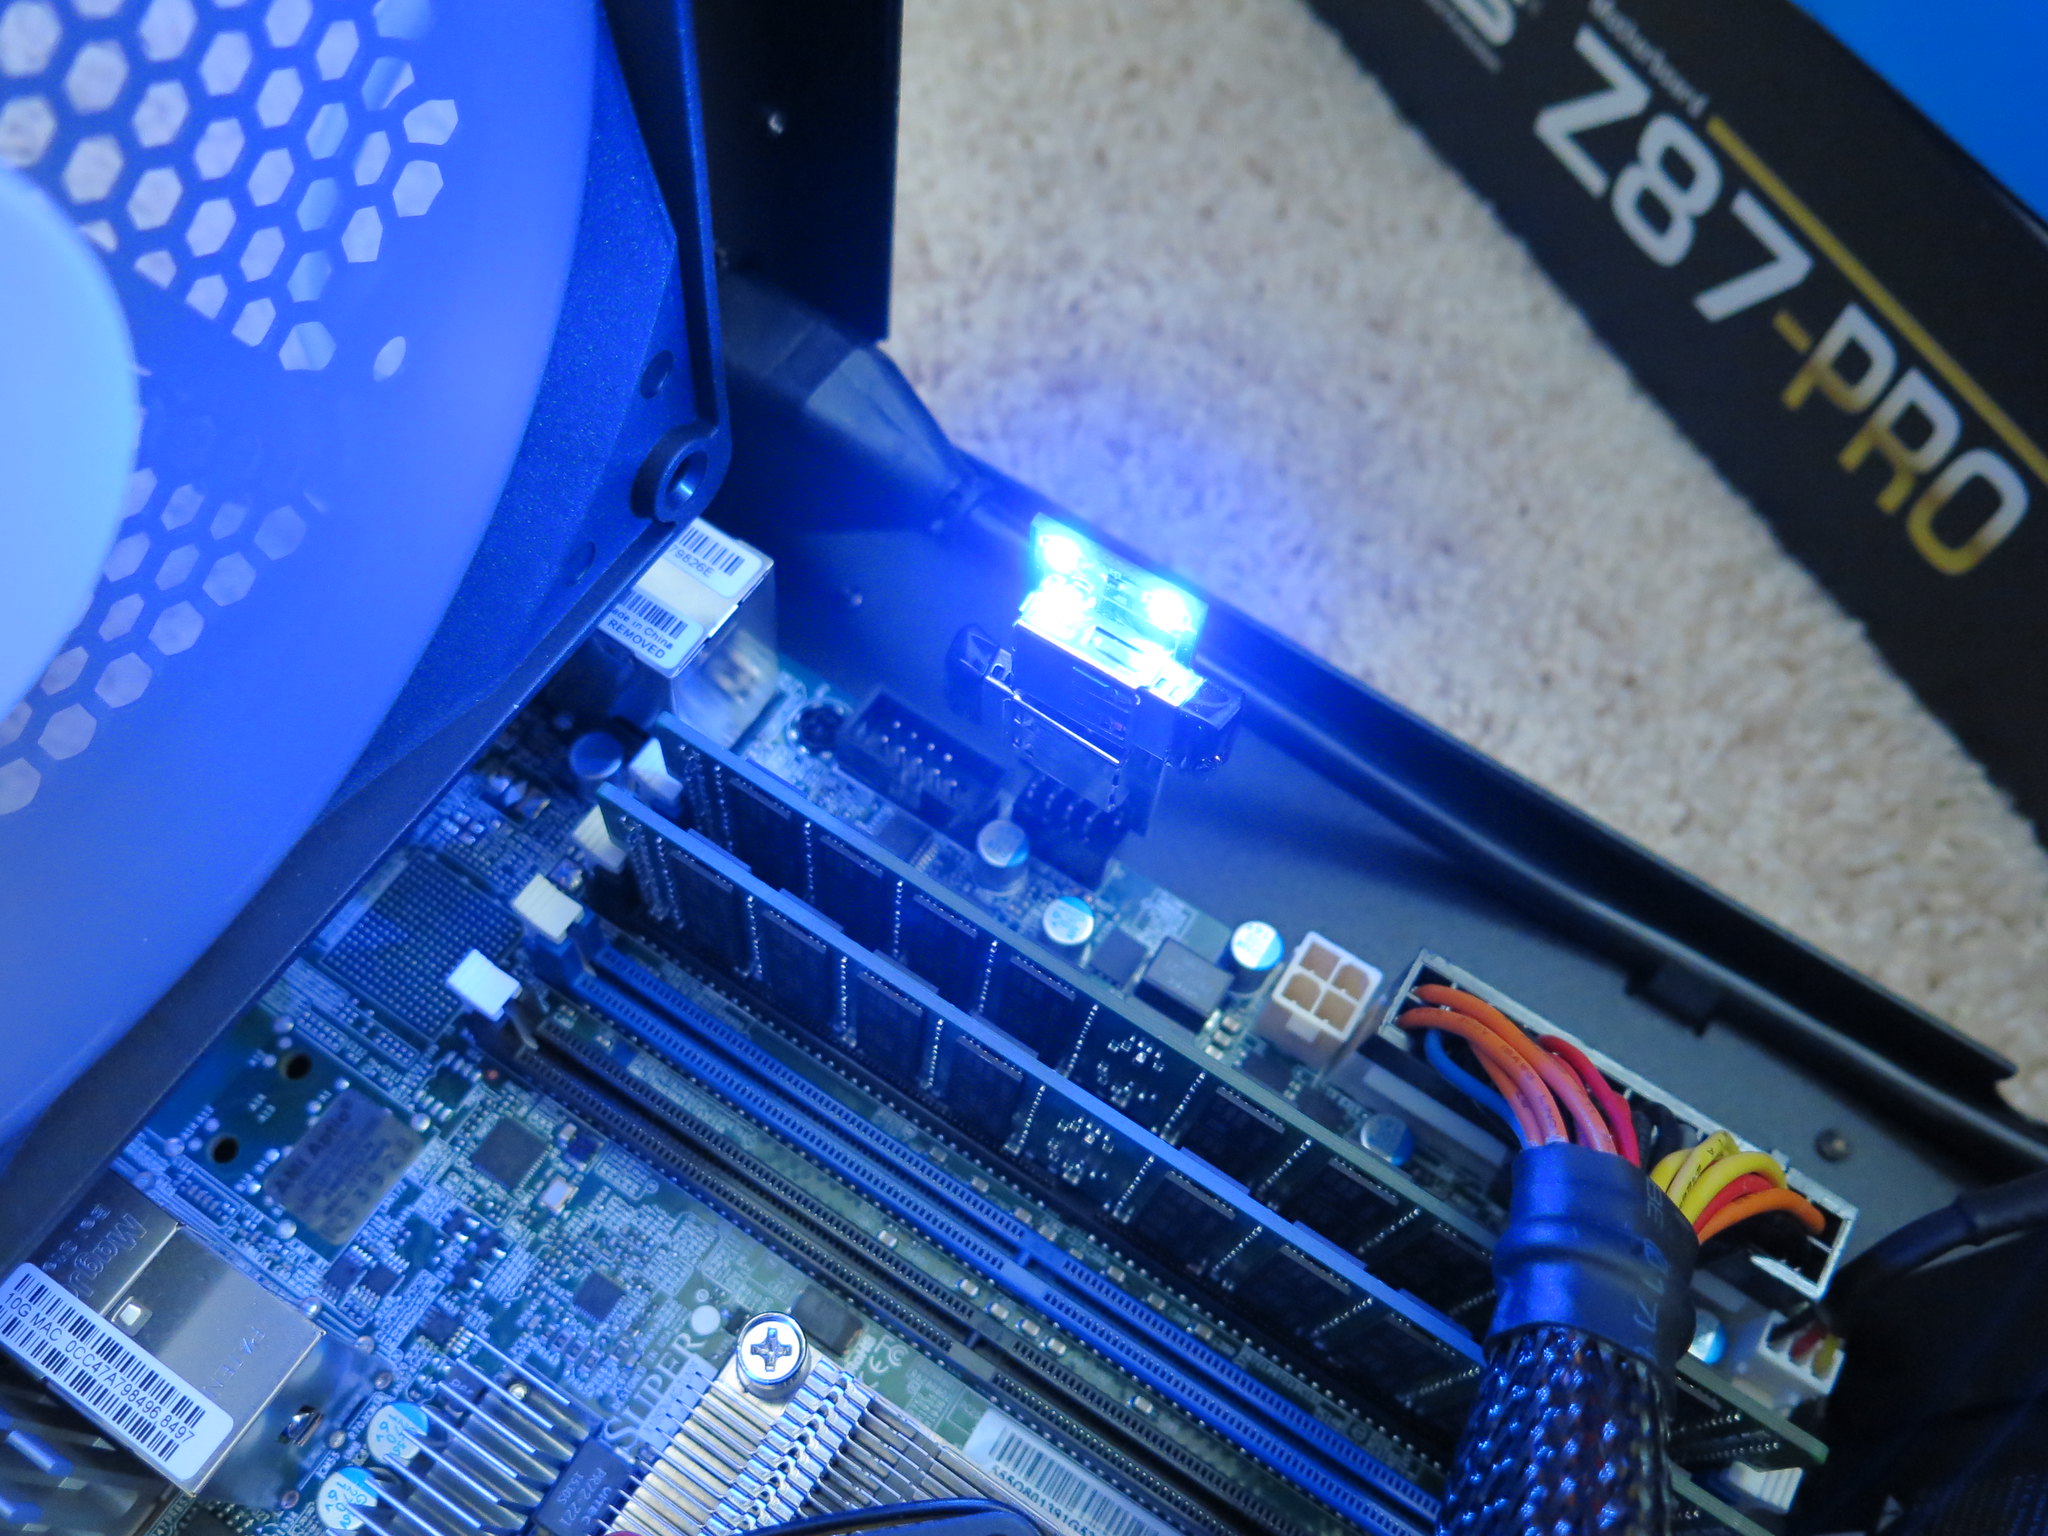
用這個小玩意把開機碟藏在機殼裡面:
Hide the boot disks inside the case using this nice little thing:
Bright AF.
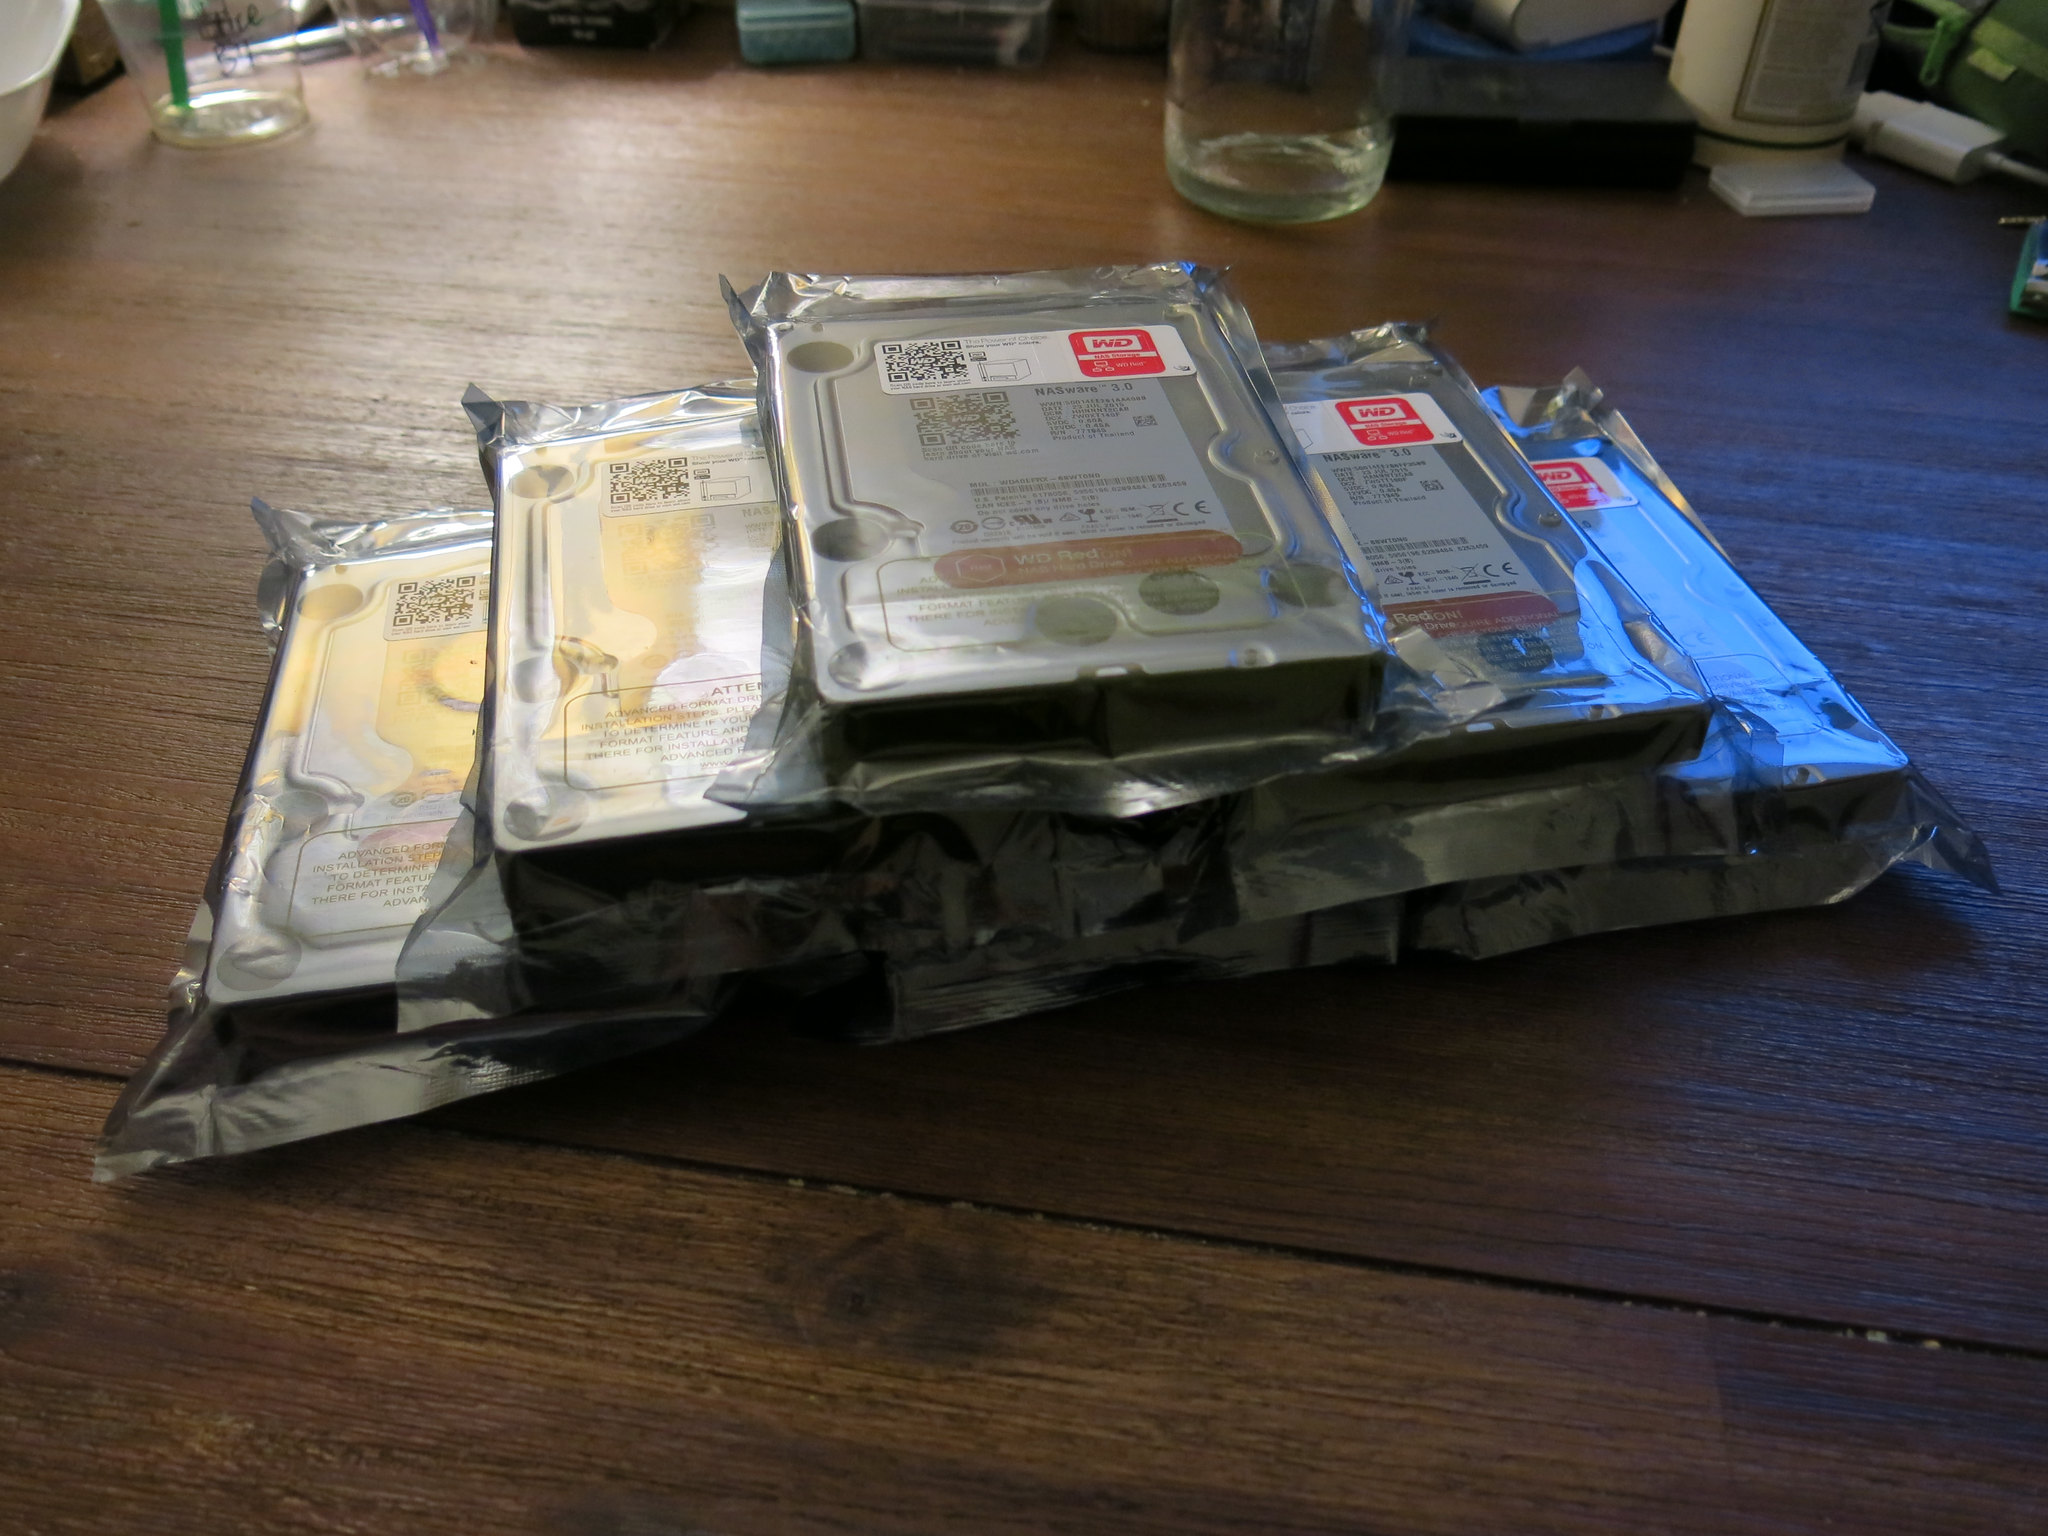
重頭戲,沒有硬碟的 NAS 就如同沒有味噌的味噌湯:
No NAS is complete without HDDs.

六顆紅標 WD40EFRX 硬碟。
Six WD Red 4TB WD40EFRX.
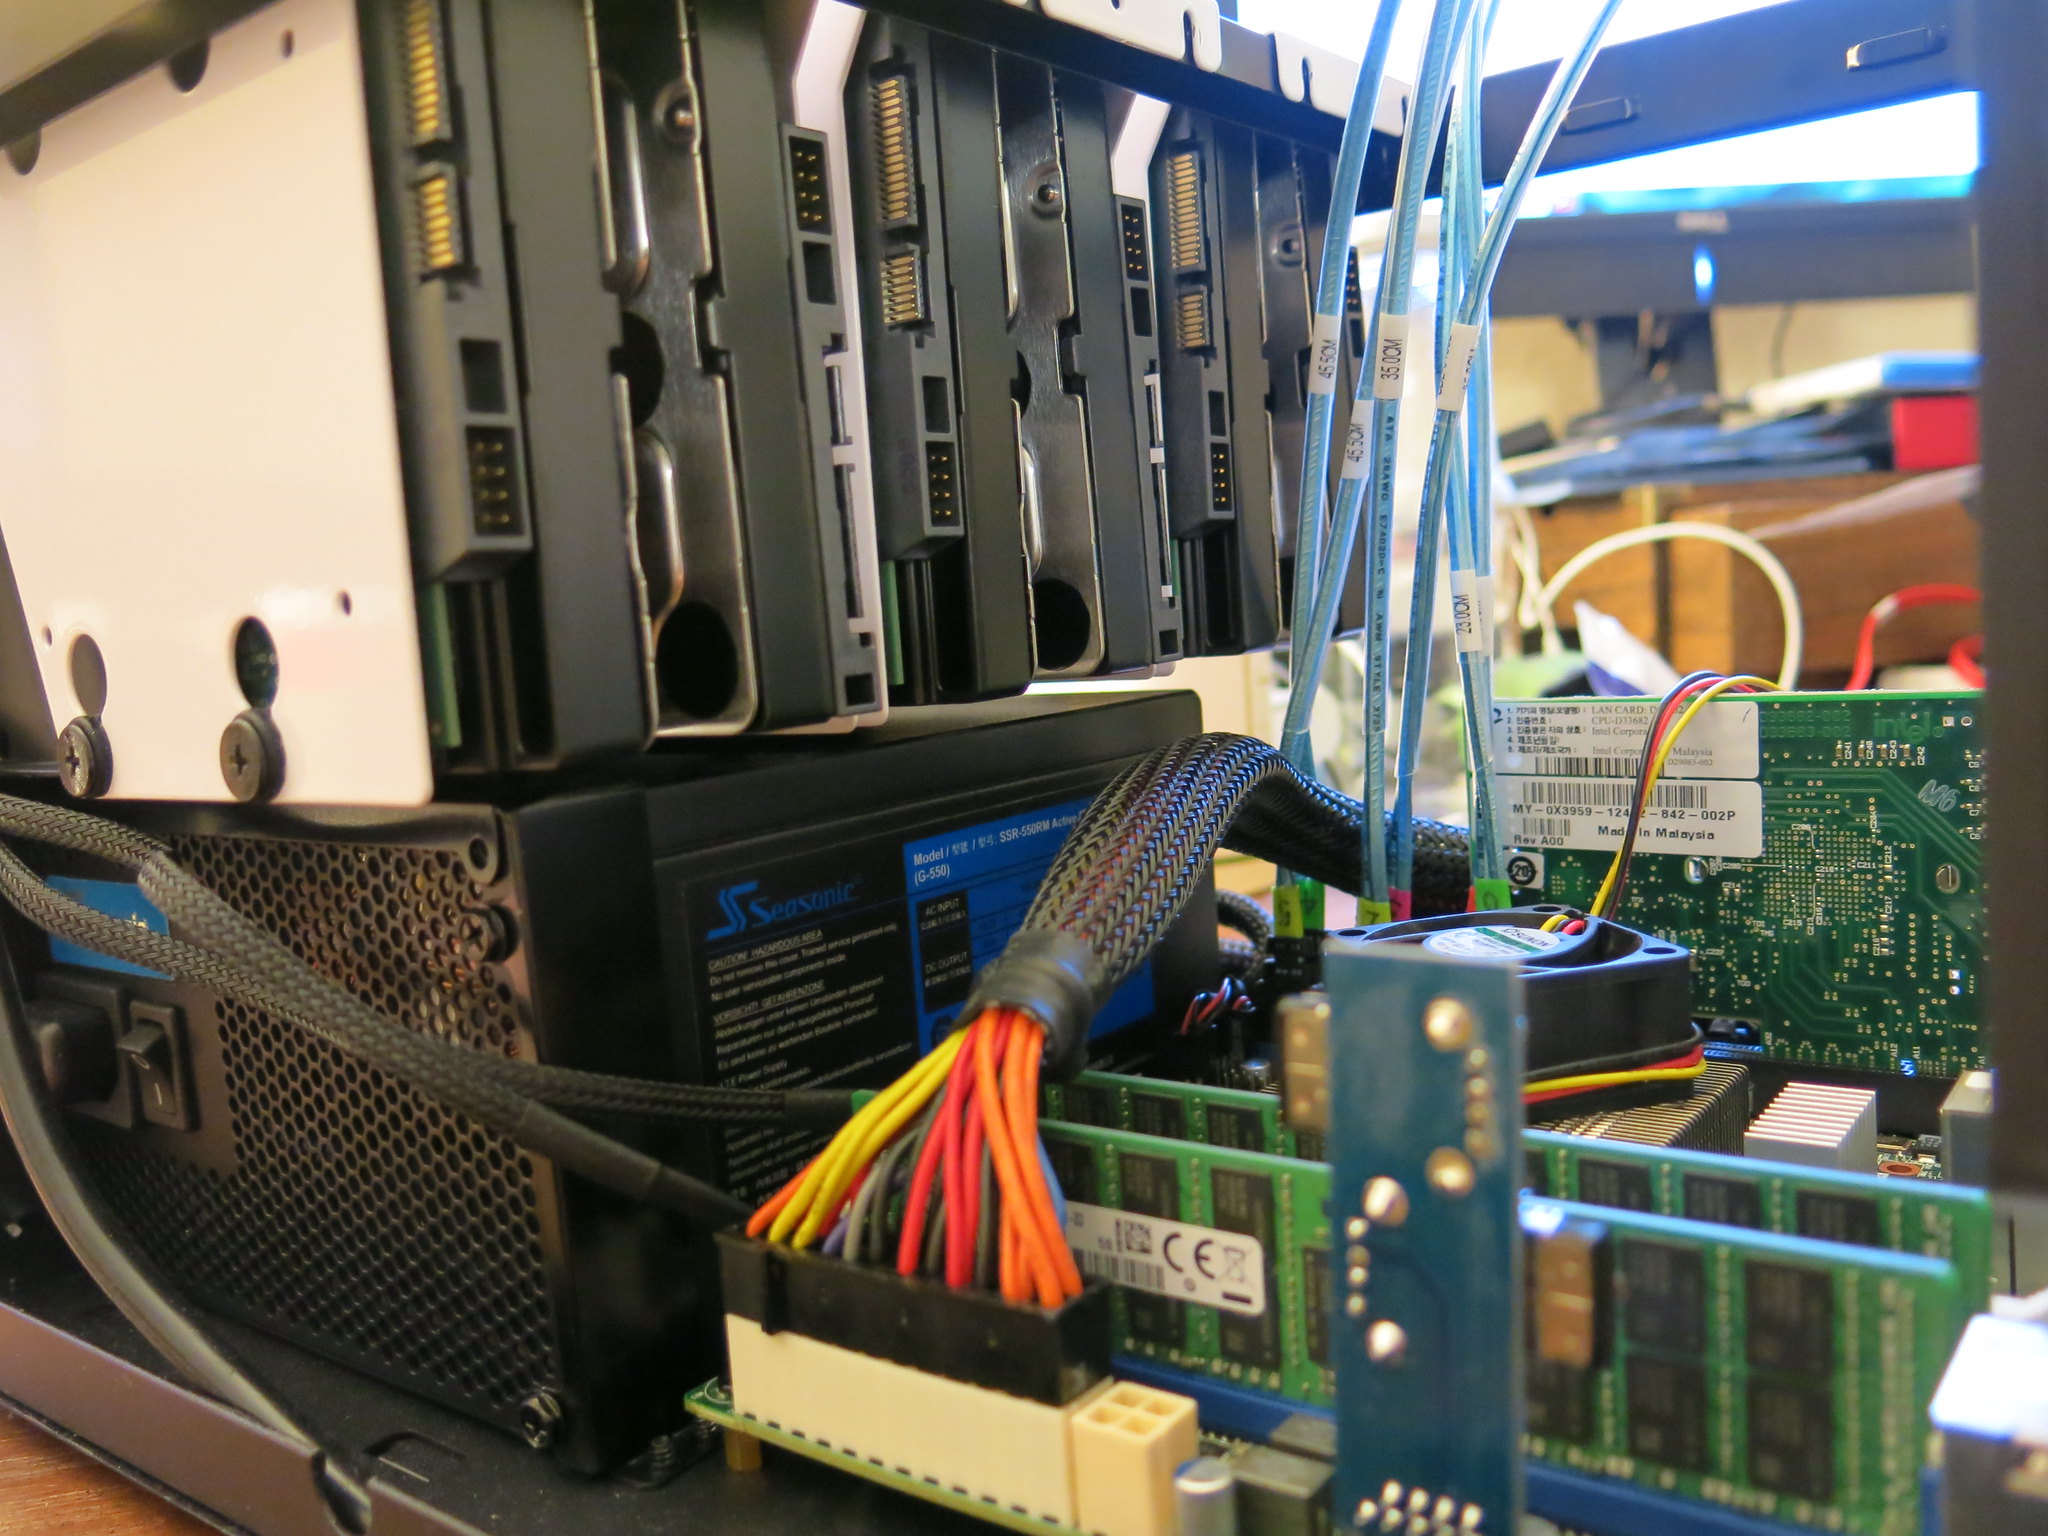
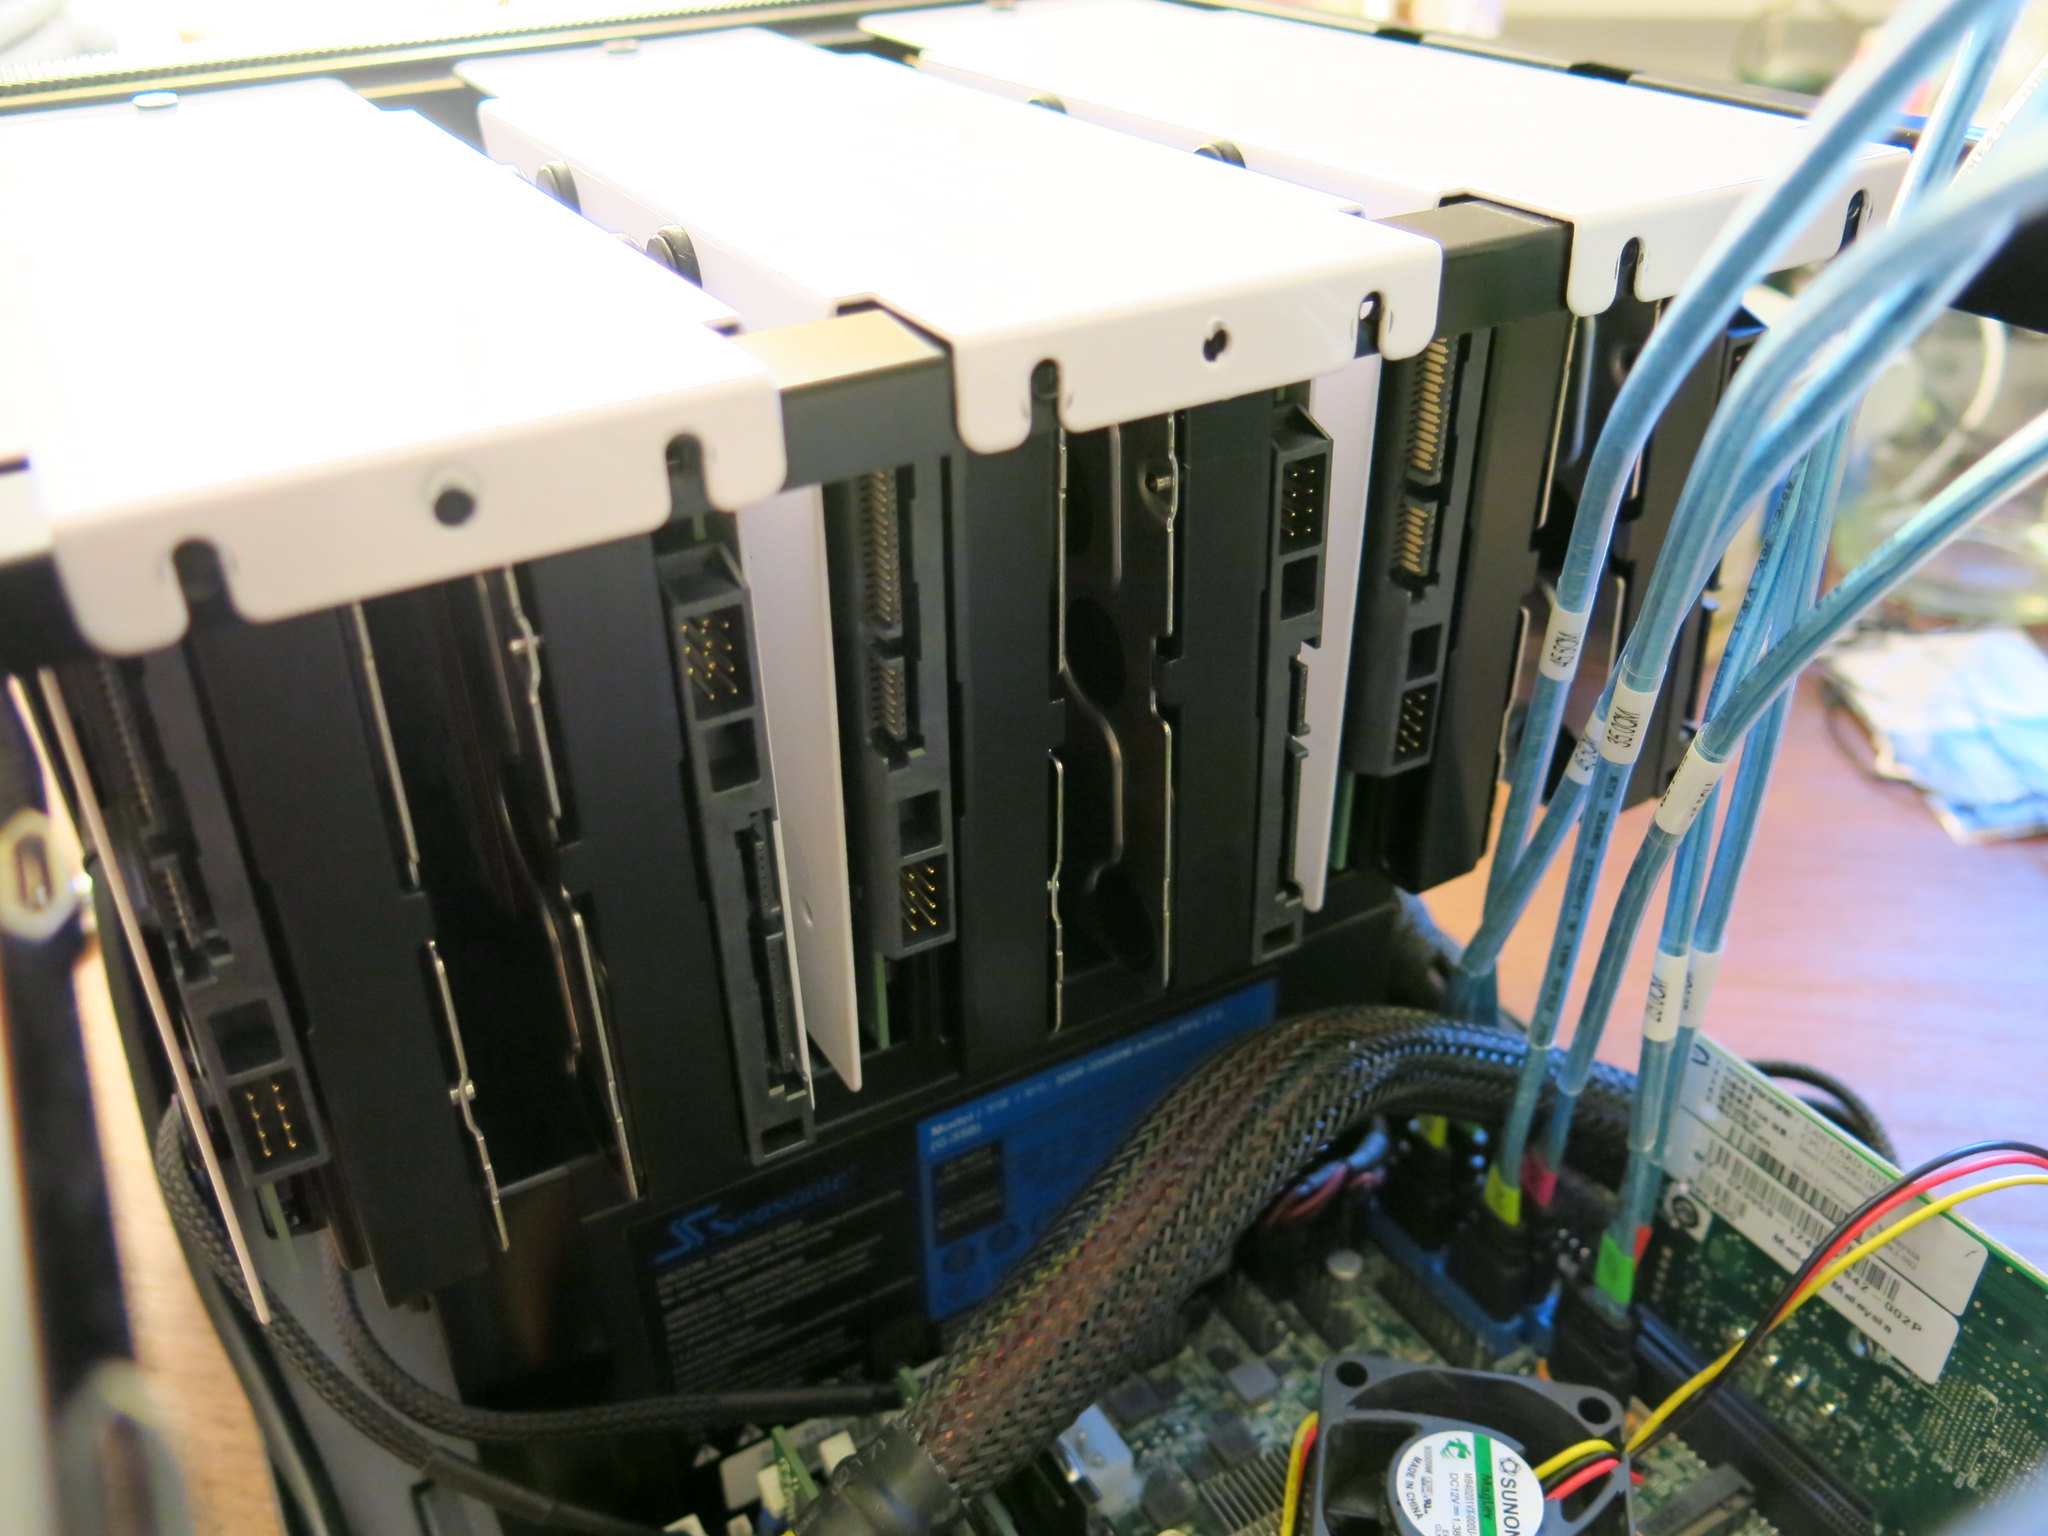
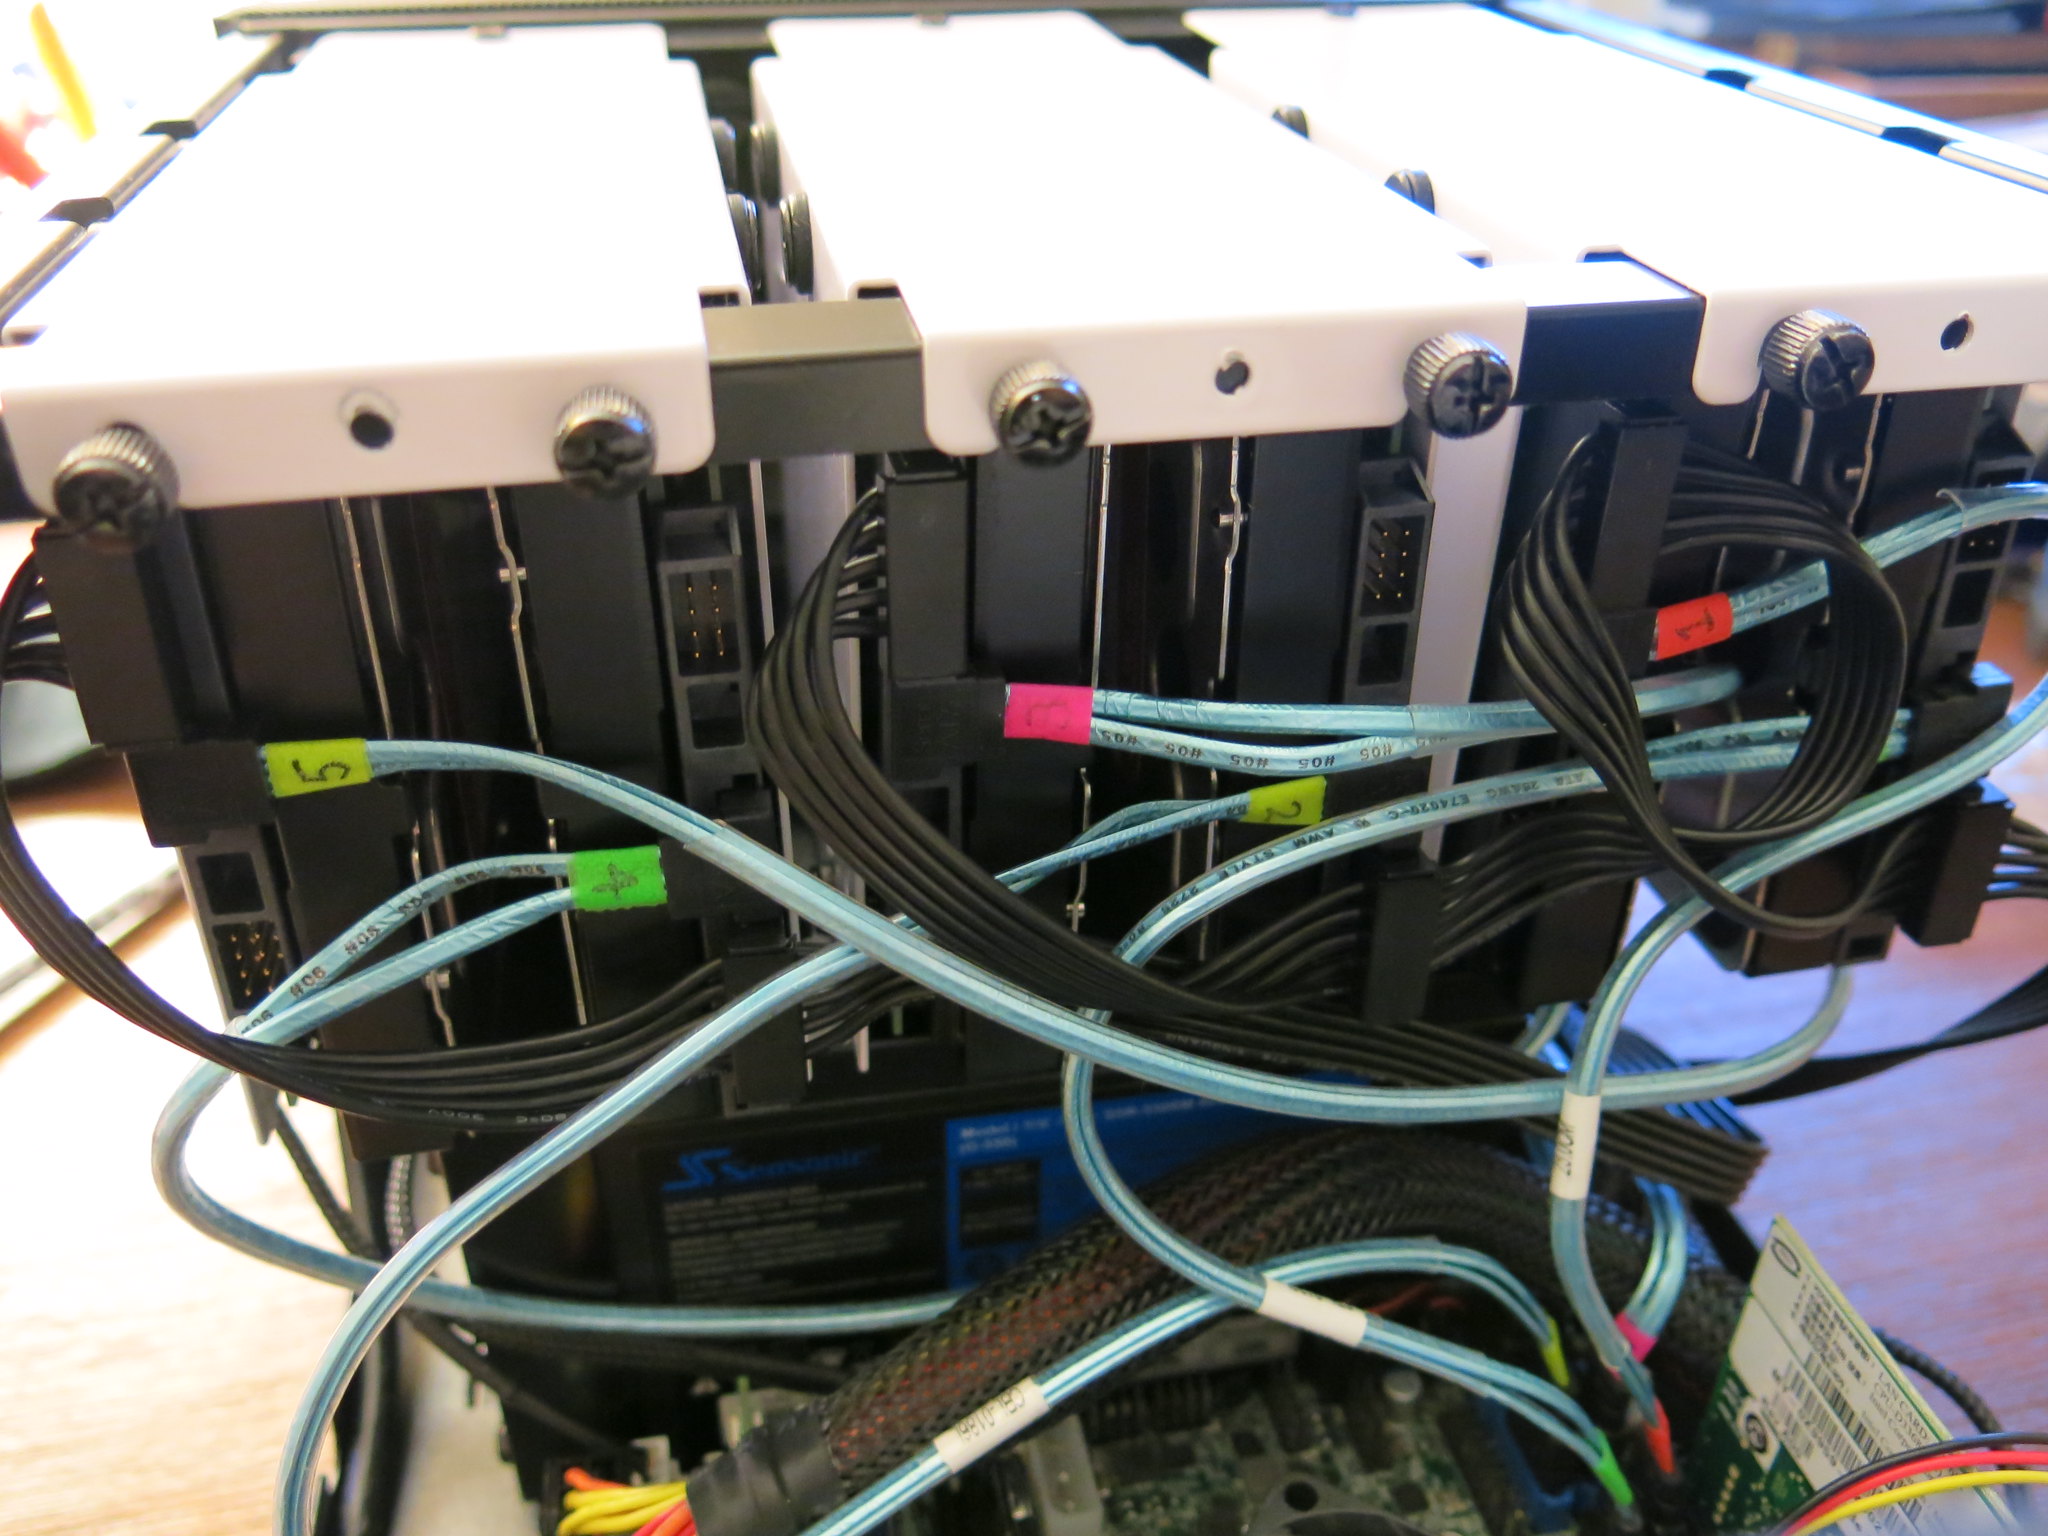
通通裝上去:
Everything installed.
升級到 9.10 之後,多出來那張網卡已經拔掉了。
There is an extra Intel NIC appeared out of nowhere because FreeNAS 9.3 does not have the driver for the 10GbE, and that is removed after upgrading to 9.10.
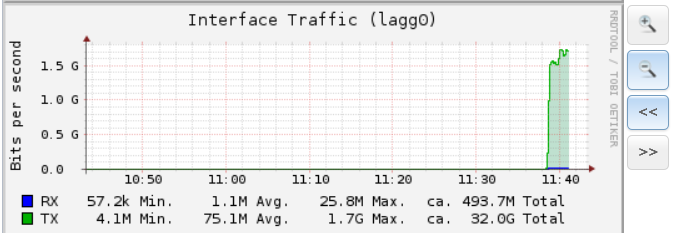
雙網卡 LACP 效能實測,網芳 CIFS 最高速度 1.7Gbps
So Here is LACP, this is its peak output (load test on CIFS), 1.7Gbps
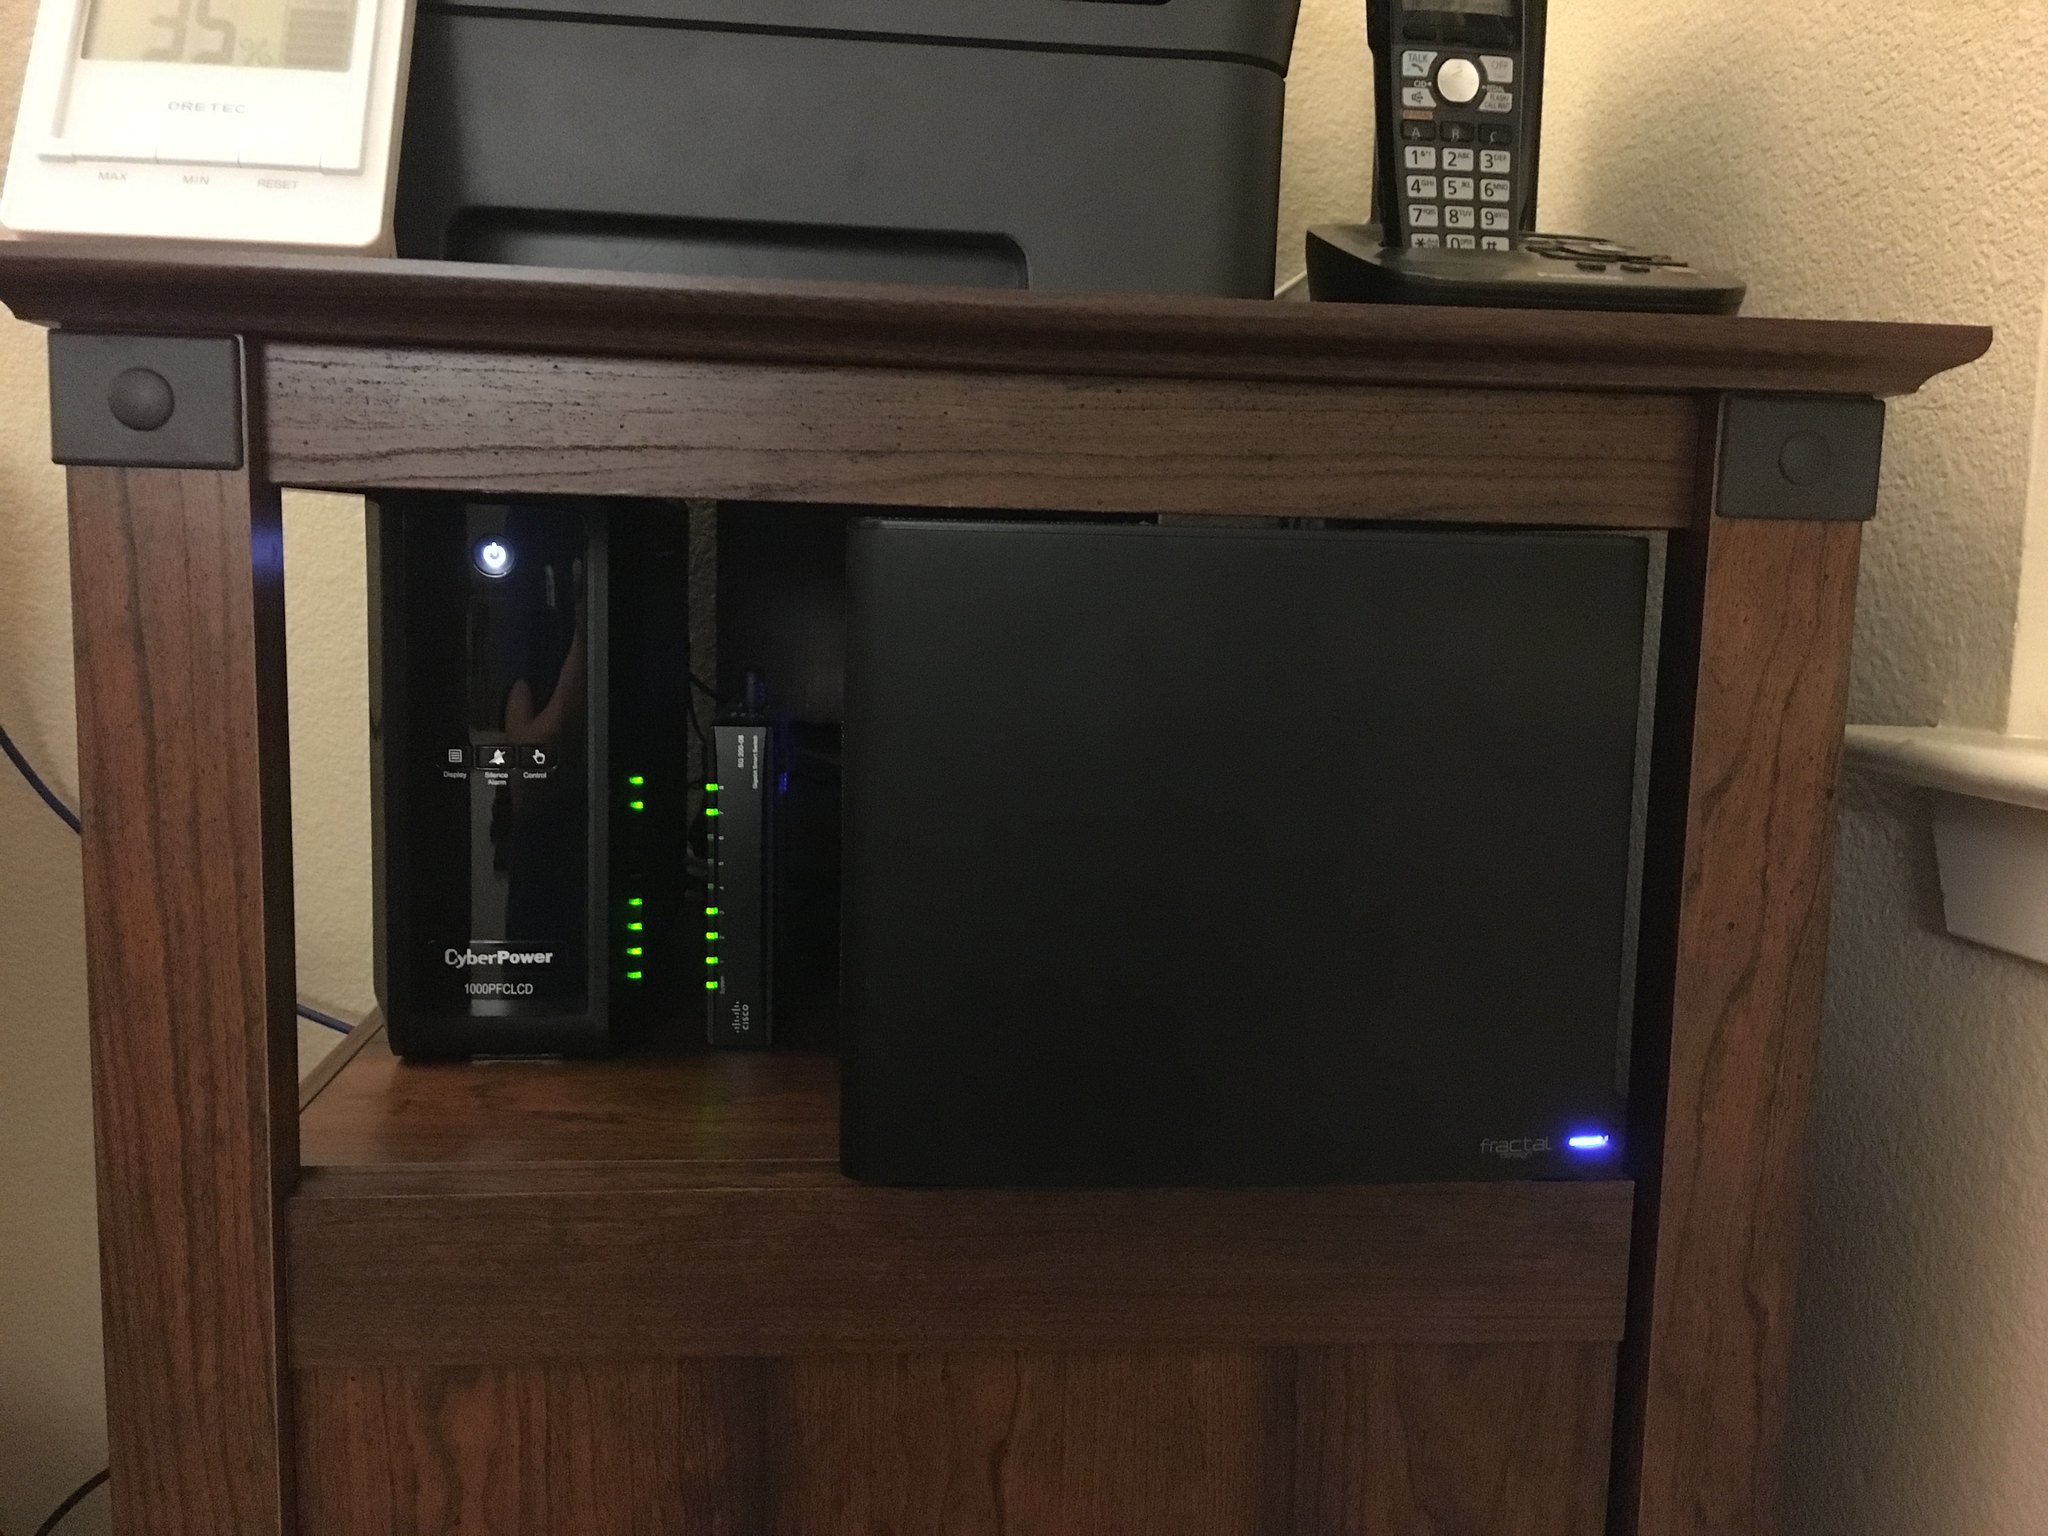
完成圖:
Done and done.
目前上面掛了 Plex, Crashplan, 雖然還不到 3-2-1 備份法則,不過一般使用已經很夠用了
Now I have Plex and Crashplan (that crashes a lot) running. Not exactly following the 3-2-1 rule but seems enough for me.
謝謝收看。
Thanks.
2019/03/14 Update:
Now running 11.2. (From 9.3 to 9.10, then Corral - the hot mess and rollback to 9.10, then to 11.1 and 11.2)

Sometime in 2018 I added an L2ARC as NVMe with a Samsung 970 EVO 250G just for kicks. It is possible to use all 6 SATA ports and the NVMe altogether (the manual says it is muxed). Turns out it's not just for kicks and I filled ARC/L2ARC in a few weeks.

The DDR4 were $170 per stick in 2015, and had since gone up like crazy to $350 or more. Sometimes it goes to swapping for unknown reasons and I always wanted to max out its RAM. In 2019, DDR4 price finally chilled and I got another pair of 32G - Now a total of 128G and the build is fully completed.

When 10GBaseT actually become mainstream I'll probably buy a switch and update this again.
2 comments:
好專業...
Thanks!
Post a Comment